Most garage shelving does not fail because it was cheap. It fails because the wall behind it was drywall, the load on it was a toolbox, and nobody measured the footprint before the car came home. A 5-tier garage storage rack is not complicated furniture. It is a load path, and when you get the load path right, the rack outlasts the garage.
I have been building and finishing garages for 20 years, the last 8 of them on storage systems. I have installed shelving in garages the owner swore were hopeless, and I have watched the wrong rack fold under the right load in about a season. The pattern is always the same: the rack was fine, the plan was not.
So here is the whole job. Pick the rack that matches your load. Find the studs. Level the feet. Anchor it to the wall. Load it bottom-heavy. Do that and you are finished by dinner. Skip the studs and you are renting shelf space from gravity.
Why you should trust me
I am a general contractor in Kansas City, Missouri, and I have spent the last eight years specializing in garage storage: shelving, ceiling racks, wall panels, workbenches. I have installed hundreds of units in garages that were never going to be organized, and I have made believers out of most of the owners.
Everything I recommend gets the same treatment I call the contractor test. Load it to what the label says, then double it, then leave it for a year and look at the welds, the brackets, and the finish. That test matters more here than almost anywhere else, because a Kansas City garage swings from below freezing in January to over 100 degrees in August, and that cycle finds every weak fastener in the building.
I do not repeat a manufacturer weight rating as gospel, I do not tell you a rack installs in an hour, and I do not give mounting advice without knowing what your wall is made of. If any of those three things bothers you, the rest of this article will not help.
How I picked and how I tested
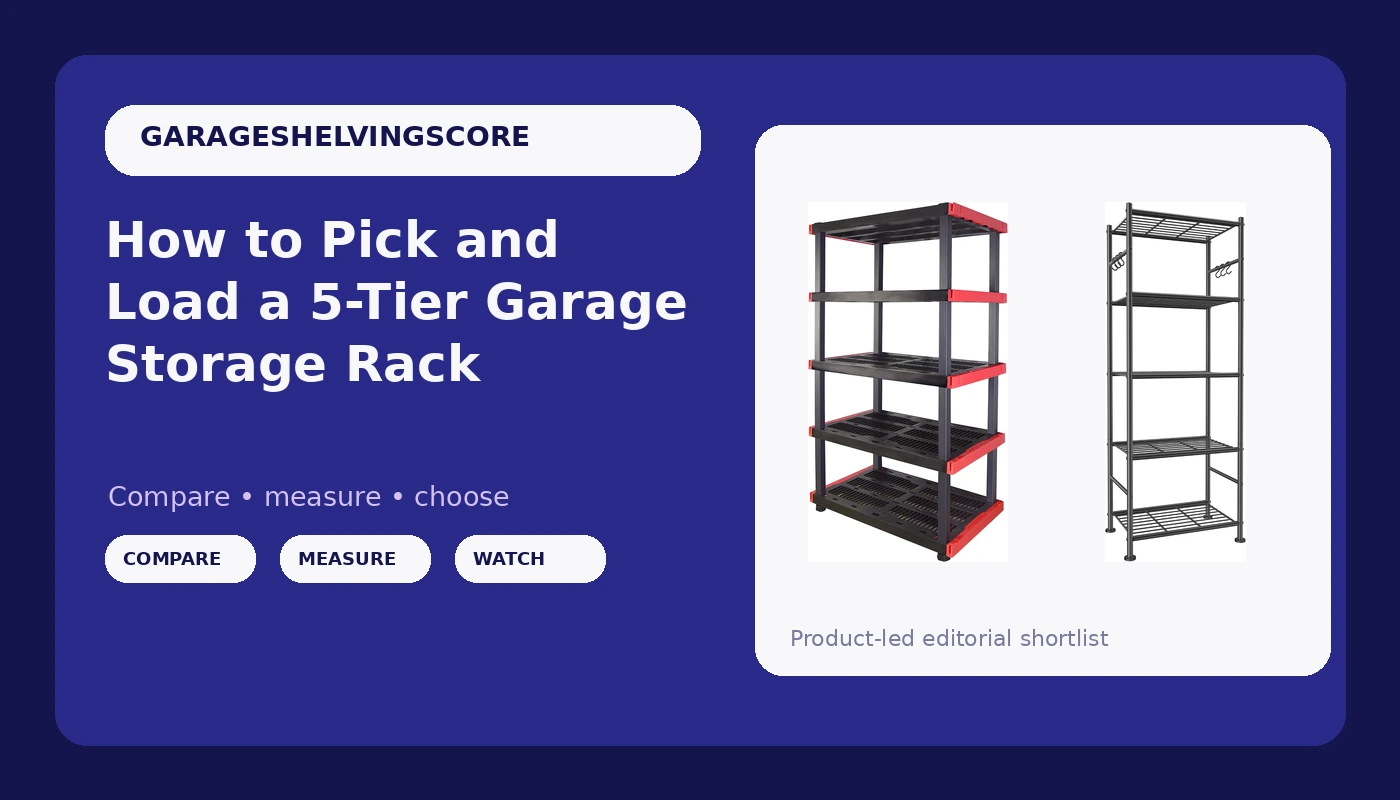
The two racks below are the ones that fit this specific job: a freestanding 5-tier unit that a normal homeowner can move, level, and anchor with ordinary tools. That is a narrow lane, and a lot of what is on the shelf at the big box store does not survive it.
Here is what I look at, in order.
Footprint first. Depth is the number that decides whether a rack belongs in your garage. A shallow rack slides behind a parked car or into a walkway. A deep rack eats the space you need to open a door. Width and height matter less than people think, because you can always go up.
Feet second. Garage floors slope toward the door so water runs out. A rack with leveling feet sits flat on that slope. A rack with fixed feet rocks, and a rack that rocks is a rack that is fatiguing its joints every time you bump it.
Material honesty third. Metal and plastic both have a place in a garage, but they do not carry the same load and they do not age the same way. I want the material to match the load the owner actually has, not the load the owner wishes they had.
Anchoring fourth. Any rack that stands taller than it is wide needs to be tied to the wall. If a rack cannot be anchored, or cannot take a plywood backer when the studs do not line up, it does not get recommended.
The racks that fit this workflow
Both of these are 5-tier freestanding units. One is metal and one is plastic, and that difference decides what you put on each.
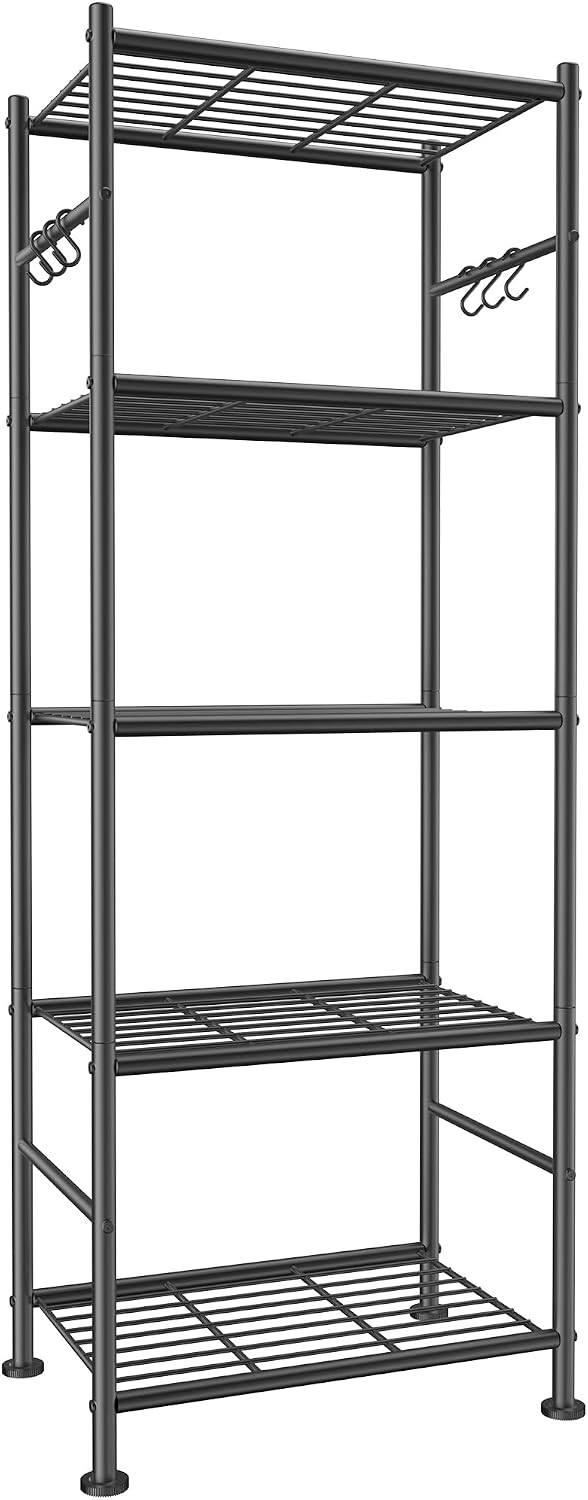
Budget pick: Sakugi 5-Tier Storage Rack Organizer with Hooks, Heavy Duty Metal Garage Rack with Leveling Feet, Freestanding Utility Rack for Bedroom, Balcony and Garage, 18.1"×12.4"×56.8", Black
 Visit on Amazon →
This is the rack I would hand a homeowner who wants metal and wants to spend the least. Check current Amazon price before you commit.
The two features that matter are the leveling feet and the hooks. The leveling feet are the whole ballgame on a sloped garage slab, and they are the reason this rack sits flat instead of rocking while you load it. The hooks are the part people underestimate. Cords, hoses, extension leads, and brooms all want to live on the side of a rack, not on a shelf, and having the hooks built in means you are not drilling into a powder-coated upright later.
The footprint is the other selling point. At roughly 18 inches wide and 12 inches deep, this unit tucks into the strip of floor beside a parked car or along a walkway without turning your garage into a maze. Tall and narrow is the right shape for a garage that still has to fit a vehicle.
Flaws but not dealbreakers: Twelve inches of depth means a deep storage tote will overhang the front edge. That is fine for a bin you slide in and out, and annoying for a bin you stack. Also, a tall narrow rack has a narrow base, so it wants a wall anchor more than a wide one does. Two lag bolts into studs and it stops being a tipping risk.
Anyone who wants metal shelving, leveling feet, and a footprint that fits a working garage should start here.
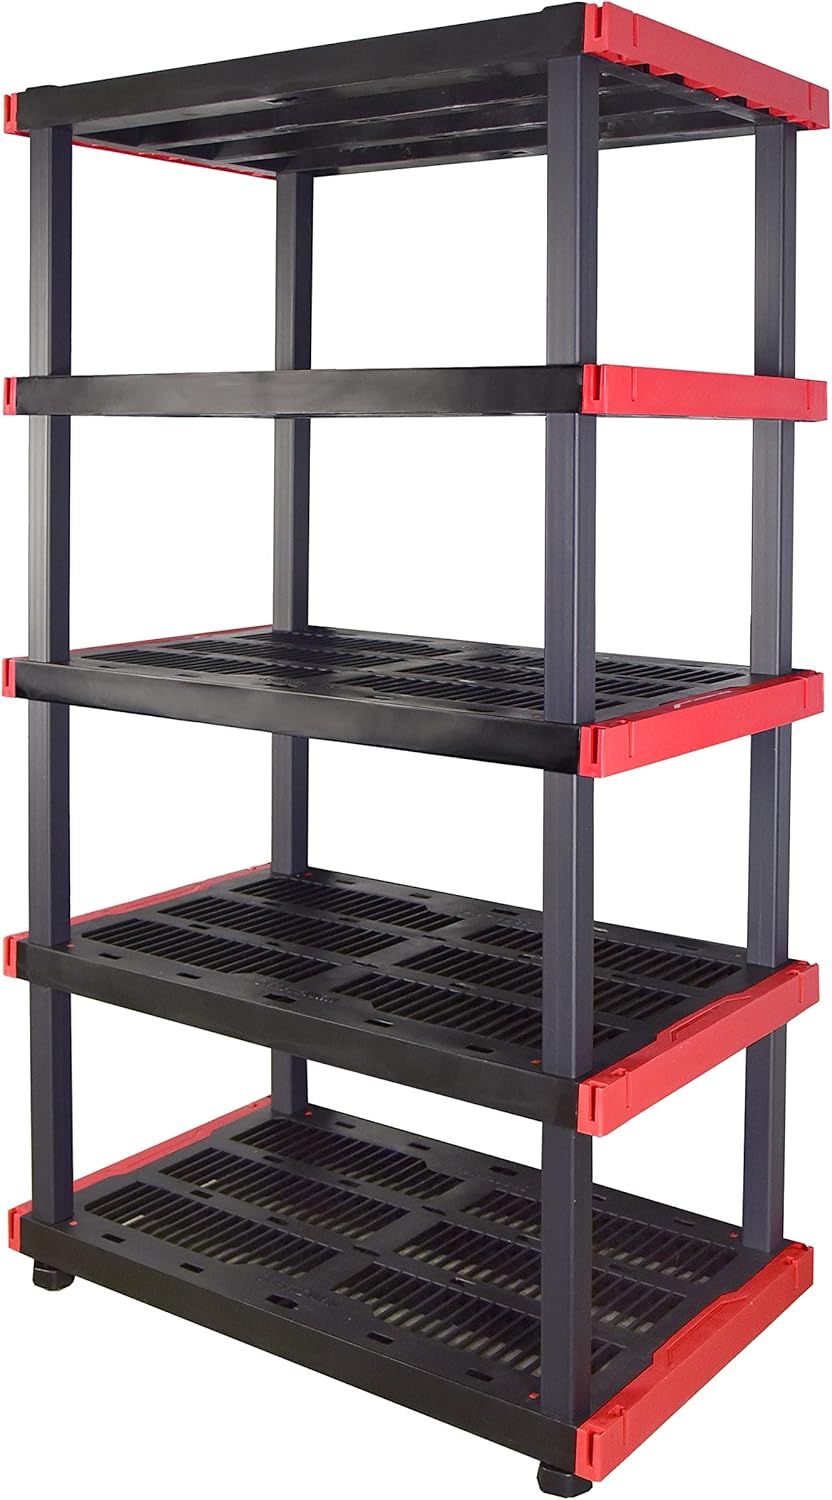
Light-load pick: CX Craftsman 5-Tier Heavy Duty Plastic Storage Shelves, Garage Organization
 Visit on Amazon →
Plastic shelving has its place, and the place is light, bulky, seasonal stuff. Check current Amazon price on this one and be honest with yourself about what you are loading onto it.
Here is the case for plastic. It does not rust, it does not care about the humidity that comes with a wet car pulling into a cold garage, and it will not scratch a door if somebody bumps it while carrying groceries. Five tiers of plastic shelving is a legitimate way to get holiday bins, empty coolers, pool gear, and camping totes off the floor and out of the walkway.
Here is the case against it, and this is the part that matters. The moment you put a loaded toolbox on a plastic shelf, you have made a bet. The label says heavy duty and the shelves may well be, but plastic ages differently than steel in a garage that freezes and thaws. Cold makes it more brittle. Load makes it creep. Those two things meet in February.
So use it the way it was designed. Keep heavy items on the bottom tier and keep the upper tiers for things that are bulky but light. If your garage storage plan is mostly tools, tile, and engine parts, put your money into metal instead.
Flaws but not dealbreakers: Plastic shelves are not the place for a vice, a jack, or anything that leaks oil. If a shelf sags under a load you will see it in the front edge first, and by then it is already permanent.
Anyone storing decorations, seasonal gear, and light household overflow will get years out of this rack.
The actual setup workflow
Now the part you came for. This works on any freestanding 5-tier rack, metal or plastic.
Step one: Measure the wall and the floor. Tape measure, pencil, and five minutes. Note the depth you have to work with, where the garage door tracks swing, and where the car doors open. Chalk the footprint on the slab and live with it for one parking cycle before you build anything. A rack that blocks a door is a rack your spouse will veto, and organization that gets vetoed does not work.
Step two: Find the studs. This is the step nobody wants to do, and it is the step that decides whether your rack stays up. Run a stud finder across the wall, mark each stud with painter's tape, and verify the spacing. Sixteen inches on center is common, but do not assume it. If your wall is concrete block or poured concrete, stop here and plan a different anchor system, because the rest of this workflow assumes wood framing.
Step three: Assemble it loose, then tighten it flat. Build the rack on the garage floor, not against the wall. Leave every fastener snug but not cranked down until the whole frame is square. Then tighten it on a flat surface so it does not come out rhombus-shaped. Get a second person for the moment you stand it up. A 5-tier rack is tall and awkward, and that is how fingers get caught.
Step four: Level the feet. Set the rack where the chalk marks say, then adjust the leveling feet until it sits flat with no rock. Put a level on the top shelf, not the floor. A rack that rocks is a rack that is working its fasteners loose every time the garage door opens and shakes the wall.
Step five: Anchor it to the wall. Lag bolts into studs. Not drywall plugs, not the little plastic anchors that come in the bag, not toggle bolts into half-inch drywall. If the studs do not land where you need them, screw a plywood backer across two studs and bolt the rack to the backer. This is the single most important paragraph in this article.
Step six: Load it bottom-heavy. Heavy totes on the bottom two tiers. Light and seasonal on top. Keep the weight over the feet rather than out at the middle of a shelf span, because shelves bend in the middle and brackets do not care how strong they are if the load is in the wrong place.
Step seven: Recheck after a week, then after a season. Fasteners move. Wood shrinks in winter and swells in summer. Walk out in October and again in April, grab the top of the rack, and give it a shake. If it moves, find out why before you add another bin.
If you need overhead storage, that is a ceiling rack job, and it is a different guide. The ceiling is the best square footage in the garage, but it hangs from joists and it has its own load math.
What goes wrong, and how to avoid it
Anchoring into drywall alone. A shelf that is anchored into drywall by itself is a shelf that is coming down. The drywall plug that ships in the bag is there so the box can say hardware included, not because it will hold a loaded rack.
Trusting the rating at the bracket. A weight rating measured at the bracket is not the same as the rating at the middle of the shelf. Load the span, not the joint.
Filling the top tier first. The top shelf is the easiest to reach, so it fills first, and that is exactly backwards. Heavy low, light high, every time.
Ignoring the finish. Powder coat that flakes after one winter is a warning sign, and it is a common one on budget steel. Once the coating is gone, moisture gets into the weld and the rust starts.
Fighting a sloped floor. If you cannot level the feet, do not shim the rack with scraps of plywood. Shim it properly or move it.
The competition and why it lost
Wire shelving from the big box store is not in this article for a reason. It is fine for tote bags and light linens, and it sags under anything with real weight in it, and the clips pop when you load a shelf in the middle. If you already own it, keep it for paint cans and light overflow.
Wall panel systems and ceiling racks are different guides. Wall panels are the right answer for bikes, ladders, and hand tools you want off the floor, and ceiling racks are the right answer when the floor is already full. Both are worth doing, and neither replaces a good freestanding rack.
Heavy steel shelving at the top of the market is a different budget tier. If you are storing tile, engine blocks, or a full set of loaded tool chests, spend the money there and skip the plastic entirely. That is a decision about load, not about taste.
What this all costs
The rack is the cheap part. Check current Amazon price on whichever one fits your load, then budget for the rest of the list: a stud finder, a four-foot level, a tape measure, and a box of lag bolts. If your studs do not line up, add a sheet of half-inch plywood for a backer. That is the entire hardware bill, and most of it is reusable.
The real cost is an afternoon. Two hours if you have help, four if you are working alone and being careful, which is the right way to be. Compare that to the cost of a rack that comes off the wall onto a car hood, and the math stops being close.
Spread over five years, the anchor bolts cost you almost nothing per day and the plywood backer costs you less. The rack itself is a one-time purchase that either holds what you own or does not, and you will know which within a month.
That is the job. Measure the wall, find the studs, level the feet, anchor it, and load it heavy at the bottom. Your garage was built to hold more than it is holding right now. Let it.