Most people buy heavy duty garage shelving and then install it like a bookshelf. They stand it against the drywall, run the included screws into whatever is behind the paint, pile on totes and paint cans, and then wonder why the whole thing leans by spring.
The steel is almost never the problem. The wall is. A rating in the thousands of pounds means nothing if the load path runs into half inch drywall and a pair of plastic plugs. After twenty years as a general contractor and eight of those years specializing in garage storage, my rule is simple: the shelf is only as strong as the studs it is bolted to.
So this is the how-to I hand clients before they spend a dime. Pick the unit, find the studs, plan the load path, install it once. Do that and heavy duty garage shelving becomes the cheapest square footage you will ever add to a house. Skip it and you have bought a very expensive pile of steel that is going to meet the floor.
Why you should trust me
I have been building and finishing garages for twenty years, and the last eight have been almost entirely storage systems: shelving, ceiling racks, wall panels, workbenches. I have installed shelving units in garages that the owner swore would never be organized, and I have made believers out of most of them.
Everything I recommend goes through what I call the contractor test. Load it to the rating on the label, then double it, then leave it alone for a year and see what it looks like in February. I keep a tape measure in every pocket and I time my installs, because "DIY in an hour" is a claim I have never once seen hold up in a real two car garage.
I do not sell shelving. I install it, I repair it when it fails, and I tell homeowners the truth about what their wall can actually carry.
How I picked and how I tested
Every unit has to answer four questions before it earns a spot in a client's garage:
- Does it survive double the rated load for a year without the uprights bowing or the powder coat flaking off?
- Can a homeowner install it with normal tools, meaning a drill, a level, a stud finder, and a socket set?
- Does it hold up to a garage's temperature swings, from a 100 degree August afternoon to a 10 degree January morning?
- Would I put it in a paying client's garage and sign my name to the invoice?
The biggest number on the box is the least useful one. A 5,000 pound rating is a lab number. It was measured on a perfect floor, against a perfect wall, with the load spread evenly across every tier at once. Your garage is not a lab. Concrete slabs slope toward the door, drywall flexes, and studs land where the framer put them, not where you want them.
So read a rating as a ceiling, not a promise. Then check three things before you order.
- Is the rating per unit, per pair, or per shelf? A two pack rated at a certain weight each is a very different animal from one unit rated at that weight total.
- What hardware is in the box? If the anchors are drywall plugs, they are rated for a picture frame, not a shelving unit.
- What is the footprint? A 69 inch wide unit needs a 69 inch run of wall. Measure the run before you fall in love with the capacity.
I apply the same four questions to the two units below. Both are steel, both are rated for real garage loads, and both live or die on how you anchor them.
Two steel units worth building a wall around
These are the two I point clients toward when they want steel shelving that will outlast the house, not wire racks that sag the first time you load them with anything heavier than tote bags.
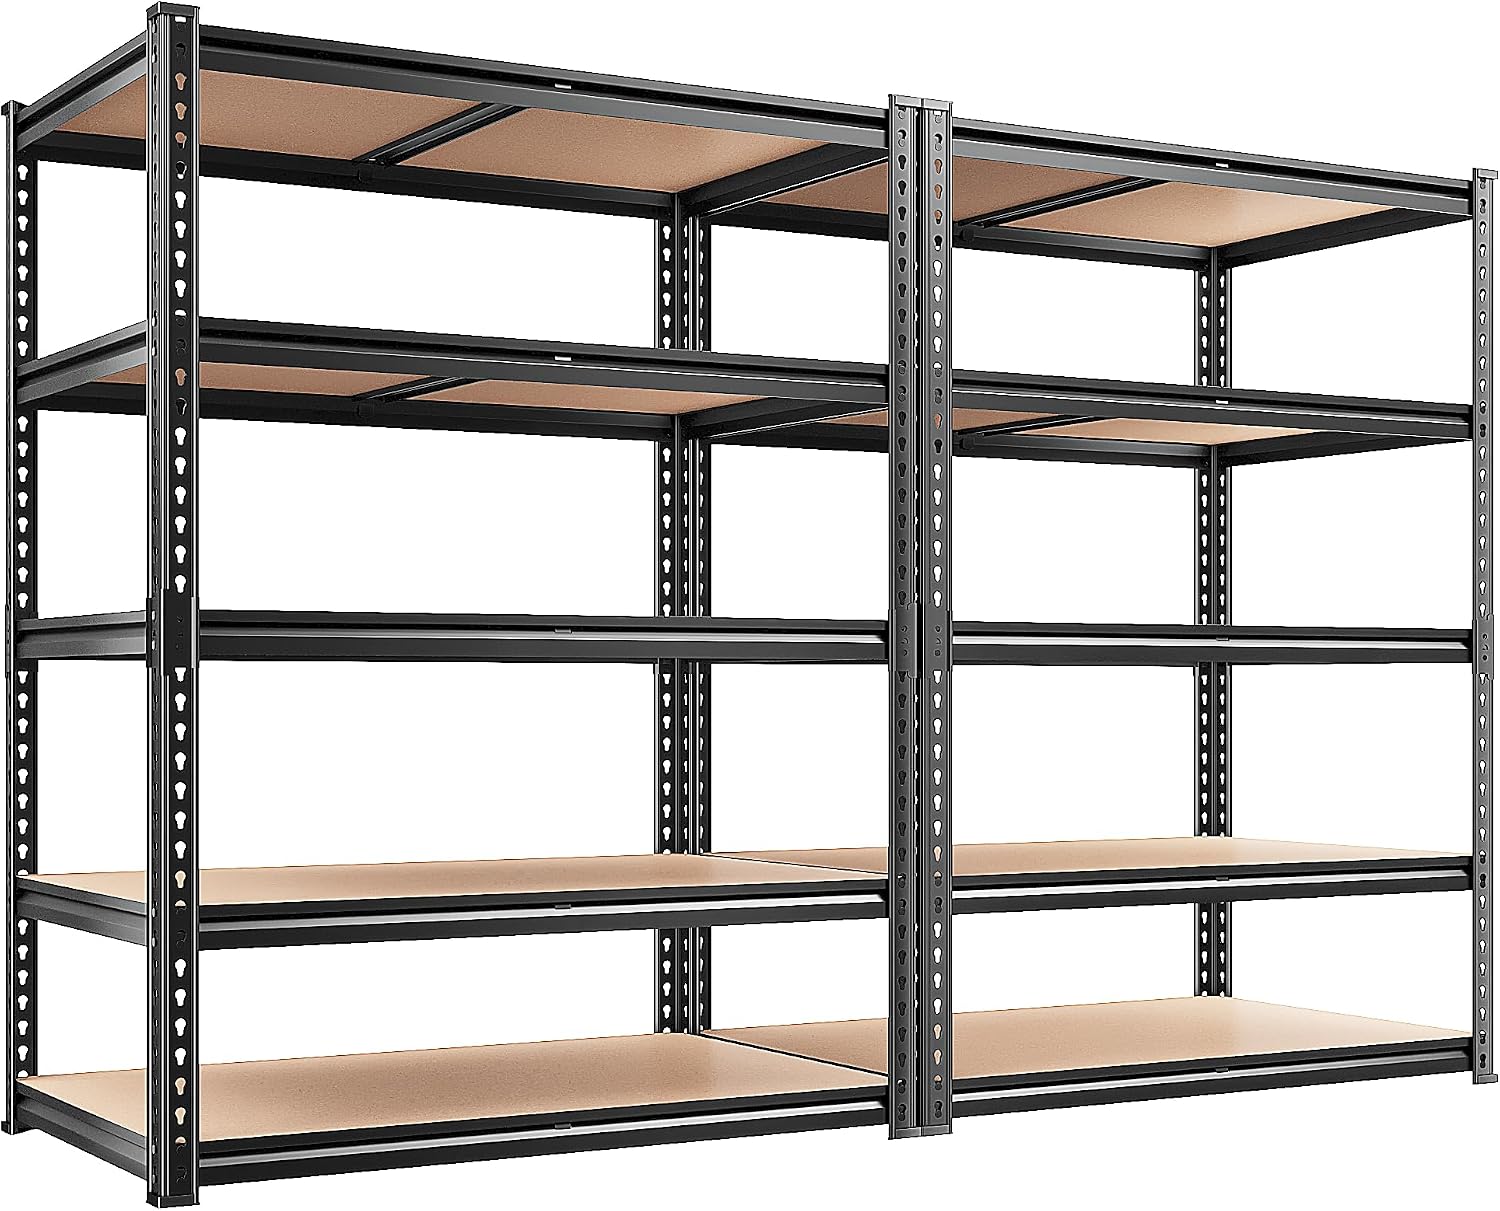
Budget pick: REIBII 2 Pack Garage Shelving, 2400LBS Each,Heavy Duty Storage Shelves
 Visit on Amazon →
This is the two unit play. The listing rates each unit at 2,400 pounds, which gives you two separate footprints of storage instead of one long run. In a two car garage that is the layout I usually prefer: one unit on the back wall, one on the side wall, both within arm's reach of the door you actually walk through every day.
Read that rating the way I do. It assumes the load is spread across the tiers and the unit is anchored properly. The spreading is on you, the anchoring is on you, and neither one is on REIBII. Bolt each upright into a stud at the top and at the bottom, keep the heavy totes on the lower two tiers, and that number stops being marketing copy and starts being a load path. Check current Amazon price.
Flaws but not dealbreakers: A two pack means two boxes, two assemblies, and two footprints. If your only open wall run is short, a pair of units will crowd it fast. Assemble on the floor, not standing up.
Homeowners with two usable wall runs and a mix of totes, tools, and seasonal gear will get the most out of this pair.
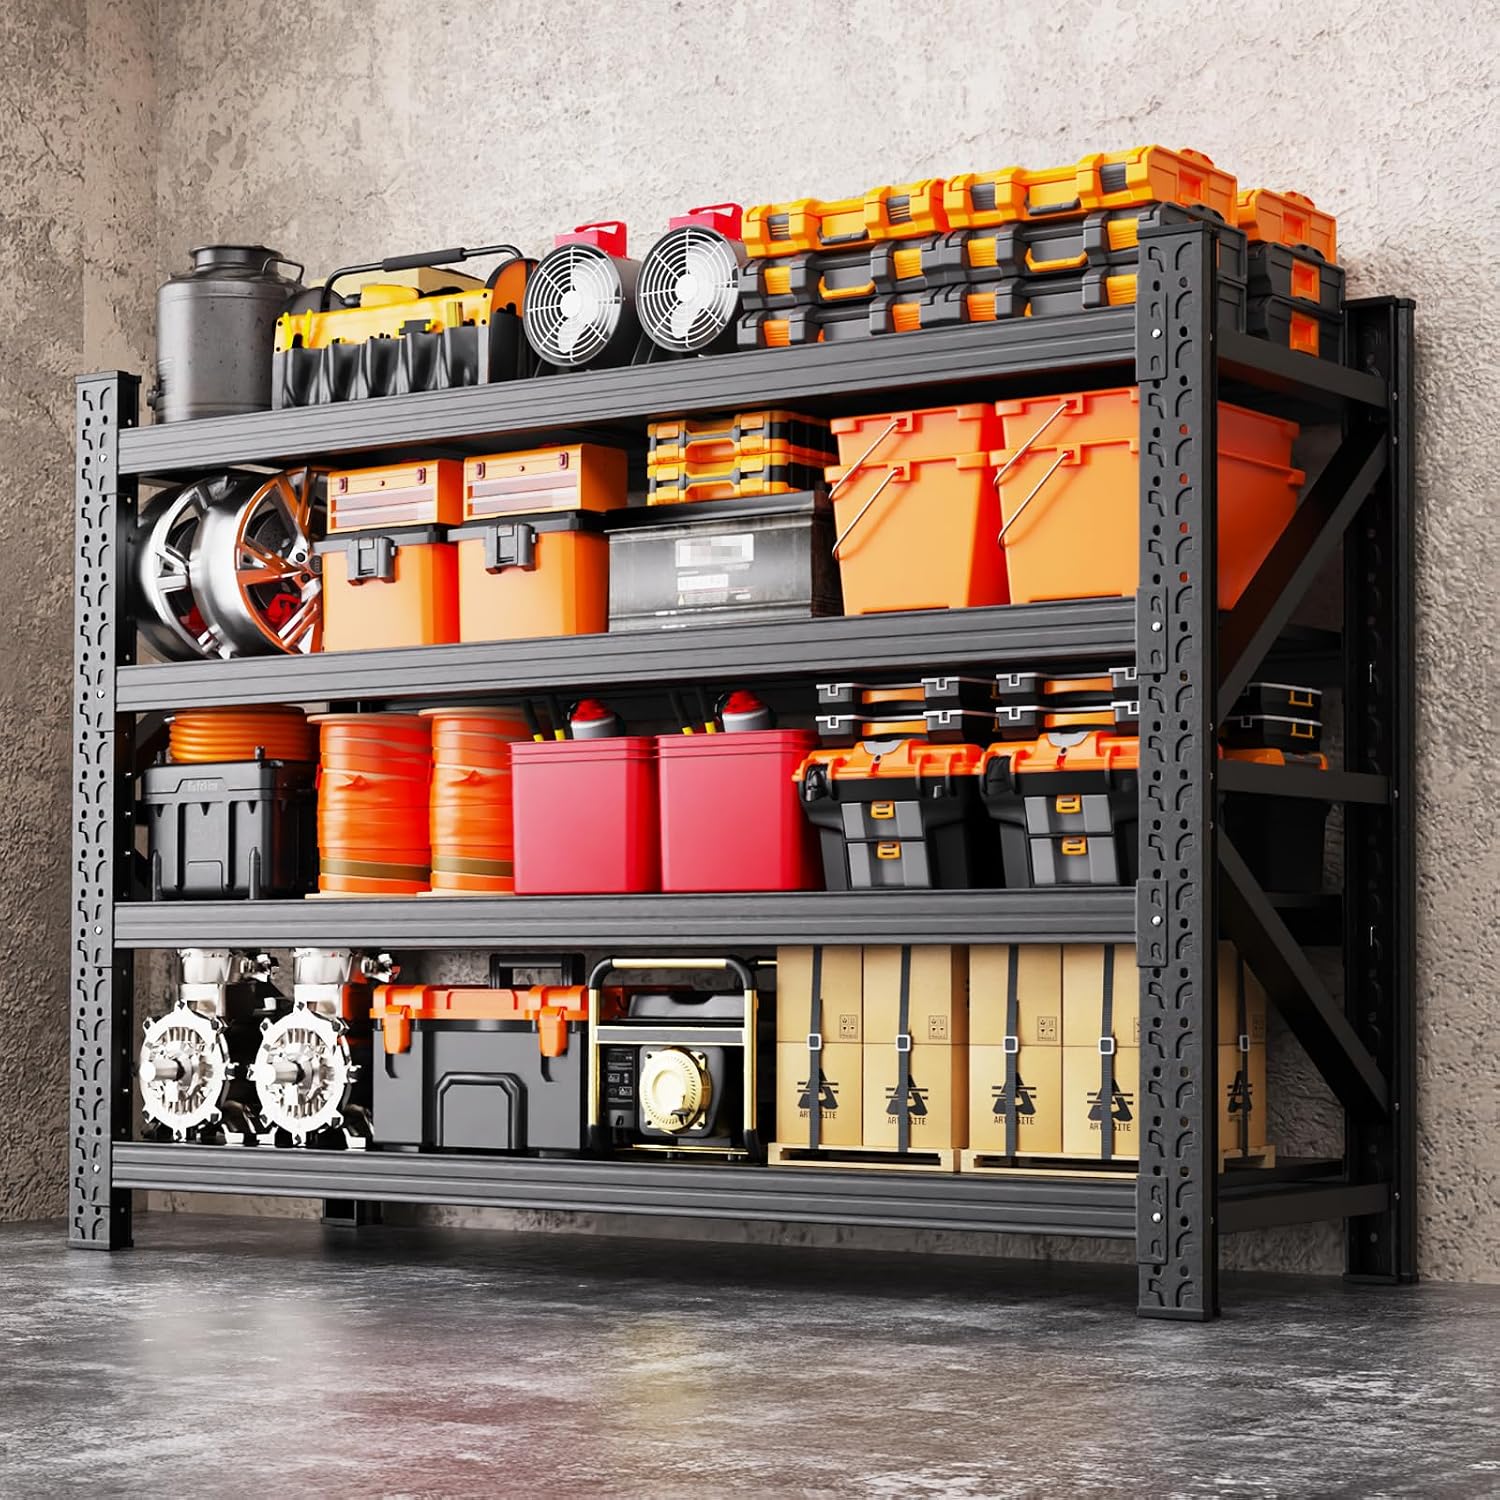
Our pick: 69"W Garage Shelving 5000LBS Heavy Duty Storage Shelves, 4 Tier Adjustable Metal Shelving Unit for Garage, Basement, Warehouse, Storage Room, Garage Storage Shelves, 69" W x 24" D x 64" H Black
 Visit on Amazon →
One long run, four tiers, 5,000 pounds of claimed capacity, and adjustable shelf heights so you can set the spacing around what you actually own instead of the other way around. At 64 inches tall it leaves real air above the top tier, which matters in a garage because that overhead space is where a ceiling rack goes later.
The footprint is the part people skip, so here it is in plain numbers: 69 inches wide, 24 inches deep, 64 inches tall. Twenty four inches of depth is the number to check against your parking space. Measure from the wall to where your car door opens, not to the center of the garage, and make sure you are not building a shelf you have to climb over every morning.
The 5,000 pound figure is the ceiling of what this thing can hold in ideal conditions. In your garage, the real limit is the wall. Put it against studs, anchor it top and bottom, and it will carry far more than most people ever put on it. Check current Amazon price.
Flaws but not dealbreakers: A 69 inch unit needs a 69 inch run, and it needs to be a run with studs you can hit. If your wall is mostly door openings and windows, this is not the unit for you. Also, four loaded tiers put the top shelf above eye level, so keep light and rarely used items up there.
Anyone with one long, clear garage wall and a serious amount of stuff to get off the floor should start here.
The actual install workflow
Now the part you came for. This works on any steel shelving unit, in any garage, as long as you follow it in order.
Step one: Clear the wall and measure the run. Empty the wall completely. Measure the length you have, floor to ceiling, and write the numbers down. I mark the run on the floor with painter's tape so I can see the footprint before I commit to it.
Step two: Find the studs. Run a stud finder across the wall and mark the center of every stud with a pencil, then a strip of tape so you do not lose the marks behind the unit. Most garages are framed 16 inches on center, some are 24. Do not assume. Confirm.
Step three: Identify the wall type. This is the step that decides your hardware. Drywall over wood studs takes lag bolts or structural screws into the stud. Bare concrete takes a hammer drill and concrete anchors. Block takes a different anchor again. If the wall is finished with furring strips, you are anchoring into the strips and the studs behind them, and you need to know how thick that gap is before you buy bolts.
Step four: Plan the load path. Everything on the shelf ends up in the wall. Keep the heavy stuff on the lowest tier, nothing heavy above chest height, and keep the total weight at or under the rating. If the rating is per unit and you bought a pair, that is per unit, not per pair.
Step five: Assemble on the floor. Lay the parts out and build the unit flat. Snug the bolts, do not crank them yet. A unit that gets torqued out of square on the floor will never stand straight.
Step six: Stand it up and level it. Two people, always. Check level front to back and side to side, and shim at the feet if the slab slopes. Garages slope. Yours slopes. Find out where before you anchor.
Step seven: Anchor it into the studs. Minimum two anchor points per upright, one near the top and one near the bottom. If you cannot hit a stud where you need one, bolt a plywood backer across two studs and anchor the unit to the backer. That is not a shortcut, that is the correct fix.
Step eight: Load from the bottom up. Heaviest items lowest. Spread the weight instead of stacking one corner. Leave the top tier for light and seasonal gear.
Step nine: Re-check after a week, then after a season. Snug the anchors, look for bowing uprights, look for powder coat flaking at the bolt heads. A shelving unit tells you it is unhappy long before it falls.
The competition and why it lost
Wire shelving from the big box store is the thing I rip out most often. The wires sag under anything heavier than tote bags, the clips pop, and the anchors are drywall plugs. Fine for a closet, wrong for a garage.
Plastic resin shelving has one honest job: light stuff, mounted high, where nothing heavy will ever go. The moment a tool box lands on a plastic shelf, you have made a bet.
Wall panel systems like Rubbermaid FastTrack are excellent for bikes, ladders, and hand tools, and rearranging one takes ten minutes. But a panel system is not shelving. It is a different job.
Ceiling racks are the best square footage play in any garage, and if you are not using your ceiling you are renting it to the air. They belong in the same garage as a shelving unit, not instead of one.
On the high end, Gladiator and NewAge build shelving that is furniture, not shelving, and the powder coat is part of what you pay for. MonsterRax is the heavy duty value play. None of them change the install rules in this article. Studs, anchors, load path. Get those wrong and the most expensive unit on the market ends up on the floor next to the cheapest one.
What this all costs
The deciding factor between these two units is not the sticker. It is footprint, tier count, and how many separate storage zones your garage can actually hold.
Two units in a pack give you two footprints and two assembly jobs. One wide four tier unit gives you a single long run with more vertical storage. Neither is better in the abstract. One of them is better for your wall.
What you should budget for beyond the shelving itself is hardware. Better lag bolts, structural screws, a plywood backer, and a decent stud finder will run less than the cost of replacing everything that falls off a failed shelf. That is the cheapest insurance in this entire project.
Check current Amazon price on both units before you decide, then measure your wall one more time. The math on cost per year gets easy when you divide by ten or fifteen years of use, which is how long a properly anchored steel unit lasts.
That is the job. Your garage already has the square footage. It is just stacked on the floor right now.