Most garages do not have a storage problem. They have a load path problem. You can buy the best garage shelving and overhead storage on the market, bolt it to drywall, load it like it is welded to the house, and then act surprised in February when it is lying on the hood of your car.
I am Buck. Twenty years as a general contractor, the last eight of them specializing in garage storage systems around Kansas City, which means I have hung ceiling racks and set shelving units in garages that were, according to their owners, "never going to be organized." The failure pattern is always the same, and it is almost never the fault of the shelf.
This is the how-to. Wall type first, then the unit, then the install. In that order. Skip a step and you are building a shelf with a date on the calendar.
Why you should trust me
I have installed hundreds of shelving units and ceiling racks in garages, basements, and shops, and I have watched a lot of them for years afterward, because clients call you when something sags. I keep a tape measure in every jacket I own and a stud finder in the truck door. My rule on any load-bearing product is what I call the contractor test: load it to the rating the label claims, then double it, then leave it alone for a year and come back and look at it. A winter in Kansas City is a stress test all by itself. The cheap powder coat fails before the welds do, and hardware that felt tight in July feels like a loose tooth in January.
I do not tell you a unit will hold something I have not seen hold it. What I can tell you is what the structure will and will not do, and that is where most of these projects are won or lost.
How I judge a shelving unit or a ceiling rack
Before anything goes into a paying client's garage, it has to clear four questions.
Does the load have somewhere to go? A shelf or rack is just a middleman. The weight travels from the item, into the shelf, into the bracket or hanger, into the fastener, and into wood or masonry. If that chain ends in drywall, the chain is broken. This is the whole ballgame.
Can a homeowner install it with normal tools? I time installs. If a unit needs a hammer drill, a second ladder, and a helper for four hours, that is a different conversation than one that goes up on a Saturday morning with a cordless drill and a level.
Does it survive a garage's temperature swings? Garages are not conditioned rooms. They go from 15 degrees to 105 degrees over a year, and they collect humidity. Powder coat flakes, plated hardware rusts, and particle board swells. Metal and quality fasteners are what you want.
Would I install it in a client's garage and hand over the invoice? That is the final filter. If the answer is no, it does not make the list.
Two units cleared it for this guide, and they solve different problems. One is a freestanding shelf for the things you touch every week. The other is overhead, for the things you touch twice a year.
Shelving and overhead storage to start with
A garage needs both kinds of storage. Floor-level shelving handles the daily stuff: oil, paint, small tools, totes you pull down every month. Overhead handles the seasonal stuff that is eating your floor space for no reason at all. Buying only one of them is why most garages stay crowded.
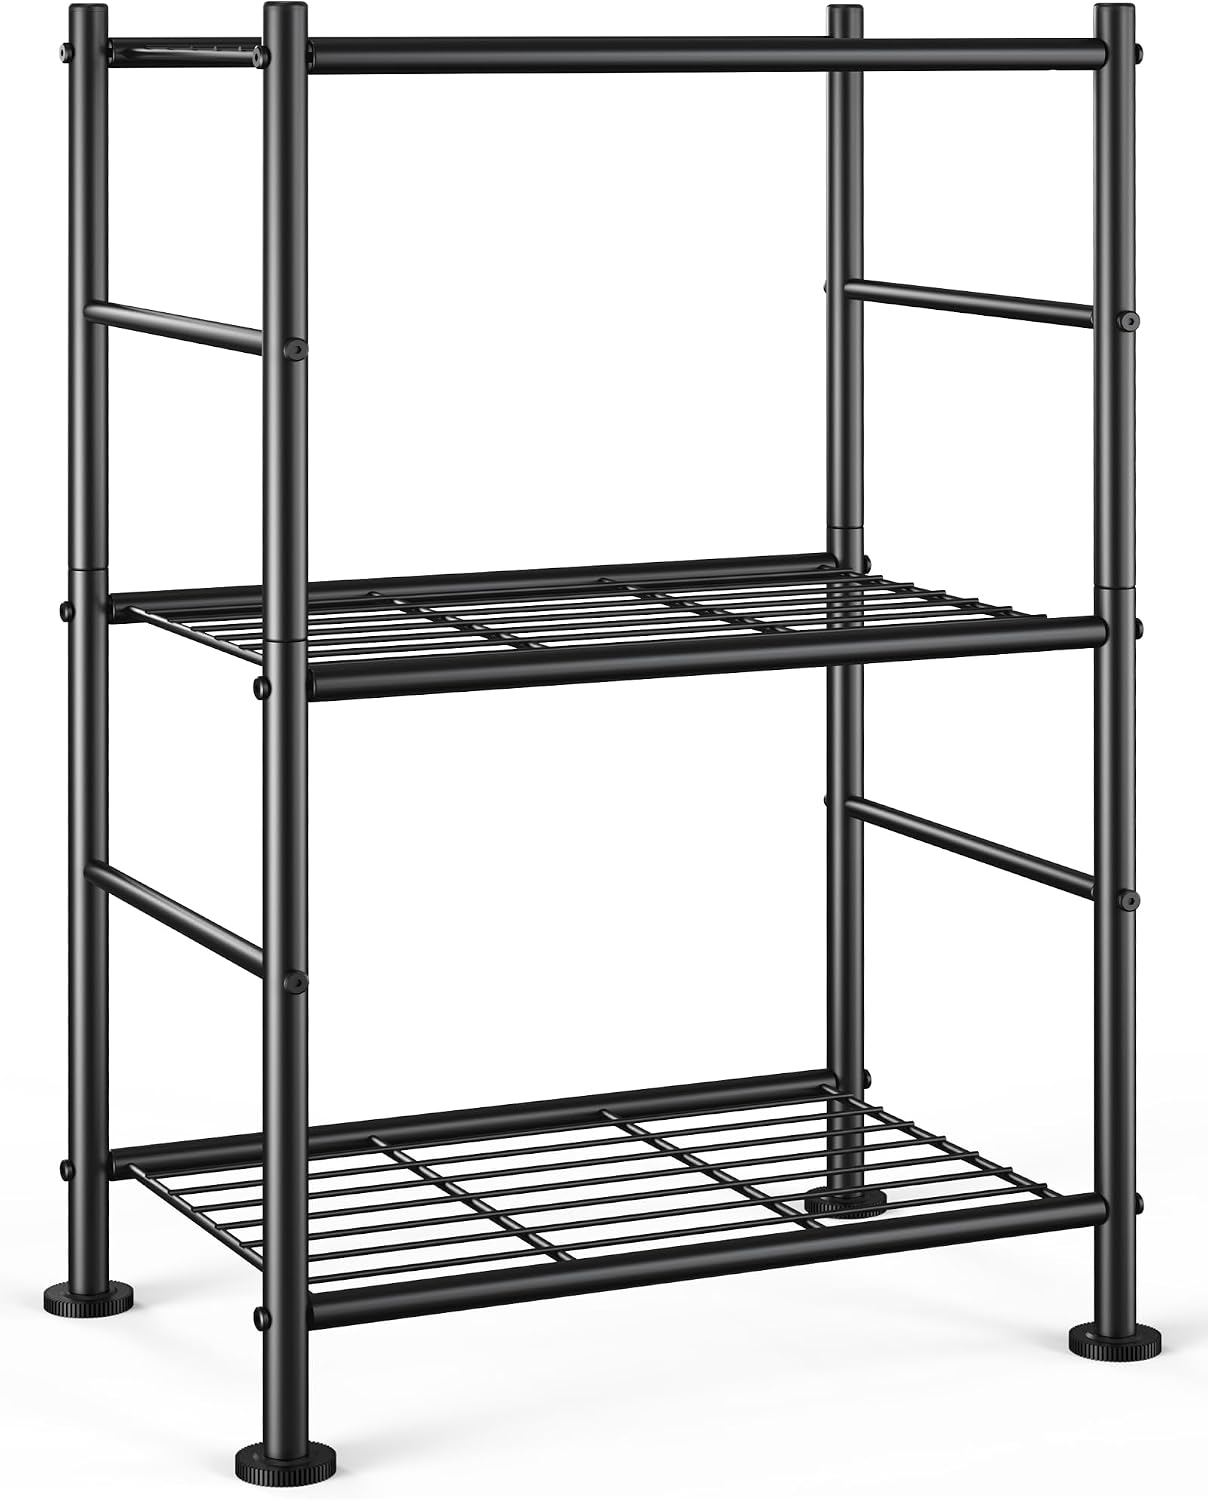
Freestanding pick: Sakugi 3-Tier Metal Storage Shelves Adjustable Feet, 18"x12"x30", Black
 Visit on Amazon →
This is a compact three-tier metal unit at 18 inches wide, 12 inches deep, and 30 inches tall, in black, with adjustable feet. That last detail matters more than people realize: garage slabs are sloped for drainage, and a shelf that rocks on a sloped floor is a shelf that walks itself away from the wall over a couple of months. Adjustable feet let you level it where it actually sits.
This is a light-to-medium duty shelf. Think paint cans, small hand tools, car care bottles, boxed hardware, a battery charger. It is not a workbench and it is not the place for an engine block or a stack of tile. The 12-inch depth is the tradeoff you are making for a footprint that tucks into the strip along the wall, which is exactly where you want shelving if you still intend to park a car in there. Keep boxes inside that depth so nothing overhangs into the door swing, and load the bottom tier heaviest, because the low tier is the one that keeps the whole thing planted.
Flaws but not dealbreakers: It is small by design. If you are storing Christmas decorations and coolers, this is the wrong shelf and the rack below is the right answer. If you anchor it to the wall, use the studs, never a drywall plug, and treat any included anchor as a tip-over strap and not a load-bearing fastener.
Anyone in a rental, a townhouse, or a one-car garage who needs a corner of floor space back will get real use out of this.
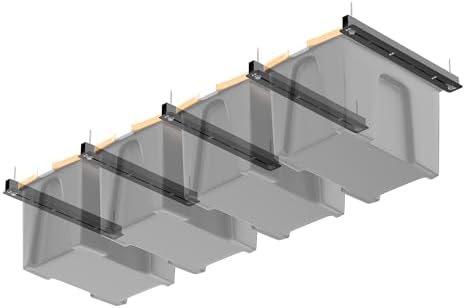
Overhead pick: Ultrawall Overhead Garage Storage Rack, Heavy Duty Ceiling Storage Rack
 Visit on Amazon →
Ceiling storage is the only free real estate in a garage. If you are not using it, you are renting it to the air. A rack like this hangs from the ceiling joists and turns the space above the car into a shelf you never have to walk around.
Here is the contractor's caveat, and I will not soften it: the rack's rating is not the number that matters. Your ceiling joists are. A rack has to span at least two joists so the load spreads across the structure instead of hanging off one piece of lumber. Before you drill anything, find the joists, confirm their direction, and measure the travel of your garage door in the open position. Overhead racks and garage door tracks fight each other constantly, and the door wins.
Load it with the bulky and the light: holiday bins, coolers, camping gear, empty luggage, patio cushions, the kid's outgrown sports equipment. Keep it to that class of item. This is not where a stack of ceramic tile or a spare short block goes unless you have had somebody look at the framing.
Flaws but not dealbreakers: Everything about overhead storage is more work than floor storage. You need a ladder, you need a second set of hands to lift it while you mark holes, and you need to think about how you will get a tote down in five years when your shoulder is older. Plan the access, not just the install.
Anyone who is out of floor space and still parking outside should start here.
The actual install workflow
This is the part that decides whether your shelving and overhead storage is still there next year. It applies to almost any unit you buy.
Step one: Identify your wall type. This is not optional and it changes everything downstream. A finished garage has drywall over studs. An unfinished garage has exposed studs, which is the easiest case you will ever get. A masonry or block wall needs a different fastener entirely. Do not buy a single anchor until you know which one you are standing in front of.
Step two: Find the studs, then verify them. Run a stud finder across the wall, mark both edges of each stud with painter's tape, and then verify with a thin finish nail. Stud finders lie near corners, near electrical, and over foil-faced insulation. Studs are commonly 16 inches on center and sometimes 24, and a garage built in a hurry can be both in the same wall. Mark a full row before you drill the first hole.
Step three: Map the ceiling joists if you are going overhead. Same process, different plane. Note which direction they run, because an overhead rack hangs perpendicular to the joists so it can catch two of them. If the joists do not land where you want the rack, you add a plywood or 2x4 backer spanning them, and you mount to the backer.
Step four: Check the garage door first. Raise the door, stand under where the rack goes, and look at the clearance. Mark the travel of the door and its track on the ceiling with tape. Install behind that line, always.
Step five: Decide your height before you drill. For wall shelving, you want the top tier reachable without a ladder and the bottom tier off the floor enough to sweep under. For a ceiling rack, you want the platform high enough to clear the car and the open door but low enough that you can reach the front edge.
Step six: Fasten into structure, not into air. Lag bolts or structural screws into studs and joists, with washers. Pre-drill so you do not split the lumber, and keep fasteners in the middle third of the stud rather than near the edge. For masonry, use the anchor type rated for that material. If a unit comes with hardware that strips before it is tight, replace it at the hardware store for a few dollars. That is the cheapest insurance in this whole project.
Step seven: Level it and re-check it. Shim or adjust the feet, then grab the unit and put your weight on it before you load anything. If it moves now, it will move worse loaded.
Step eight: Load it bottom-heavy and check it seasonally. Weight low, light stuff high. Then walk out in January and put a wrench on the bolts. Temperature swings loosen things, and a two-minute check once a year is the difference between storage and a repair bill.
What I would not do
I would not hang anything of consequence from drywall anchors. I would not mount a rack to a single joist and call it done. I would not drill a garage wall without knowing what is behind it, because I have drilled through a water line and I own the t-shirt to prove it, along with the drywall patch. Conduit, gas lines, and plumbing all live in garage walls, and a stud finder does not see them.
I would also skip the cheap wire shelving from the big box store for anything heavier than tote bags. The wires sag, the clips pop, and it does not survive being loaded twice.
What order to buy in
Start with the wall or the ceiling, not with the shelf. If your garage is finished drywall and you have never found the studs, spend the money on a decent stud finder first. Then buy in this order: overhead rack for the seasonal bulk, then freestanding shelving for the weekly items, then bins that actually fit the depth of what you bought.
Both of the units above are affordable enough that the decision is really about sequencing, not budget. Check current Amazon price on each before you commit, and measure your wall and your ceiling before you order either one. The tape measure is free and it is the tool that keeps you out of trouble.
That is the job. Park the car in there. It is not a fantasy, it is a weekend.