Most garages do not have a storage problem. They have a load path problem. You can buy the best heavy duty garage shelving on the market and still watch it lean away from the wall in eighteen months, because nobody checked what was behind the drywall or where the weight was actually going.
I have been building and finishing garages for twenty years, and the last eight have been almost entirely storage work: shelving, ceiling racks, wall panels, workbenches. The failures I get called out to look at are almost never about the steel. They are about where the steel was pointed, and what it was fastened to.
This is the process I walk a homeowner through before we buy a single bracket. Two pieces do most of the work in a normal two-car garage: a tall open shelving unit for bulk, and a locking steel cabinet for the things you do not want sitting on an open shelf. Get the wall right first, and both of them will outlast the car.
Why you should trust me
I am a general contractor in Kansas City, Missouri. Twenty years in, and I have installed or replaced enough shelving units that I stopped counting somewhere around the four hundred mark. Most of those were in garages the owner had already given up on.
My testing standard is what I call the contractor test. Load a unit with what the label says it holds, then double it, then leave it alone for a year. A garage is not a showroom. It swings from below freezing in January to over a hundred in the summer, the door opens and closes a few thousand times, and something is always getting shoved against the uprights. A unit that survives a lab does not automatically survive that.
What I will not do is hand you a weight number I have not verified on the actual wall you own. Ratings are measured in ideal conditions with ideal mounting. Your drywall is not a lab.
What I check before I recommend a unit
Four things, in this order.
Does it survive double the rated load for a year? Not for an afternoon. A year. Steel that is fine in March can be bowed by the following February if the shelf panels are too thin or the uprights are not tied together.
Can a homeowner install it with normal tools? A tape measure, a level, a drill, a stud finder, and a socket set. If a unit needs two people and a scissor lift, it is not a garage shelf, it is a construction project.
Does it hold up to temperature swings? Powder coat that flakes after one winter is a bad sign, and it is the first thing I look at on any steel unit that lives in an unconditioned space.
Would I install it in a paying client's garage? That is the real filter. If I would not put my name on it for someone who is going to call me if it fails, I will not recommend it to you either.
Two units cleared that bar this year, and they do different jobs.
The two units most garages actually need
Here is the split I use with clients. Open shelving handles volume: totes, cases of water, seasonal decorations, camping gear, bulk paper goods. A locking cabinet handles everything you do not want visible, borrowed, or reached by a kid: paint, solvents, power tools, the good drill, anything with a warranty you actually plan to use.
Buy the shelving first. Buy the cabinet when you have something worth locking up. Do not buy three of either before you have measured anything.
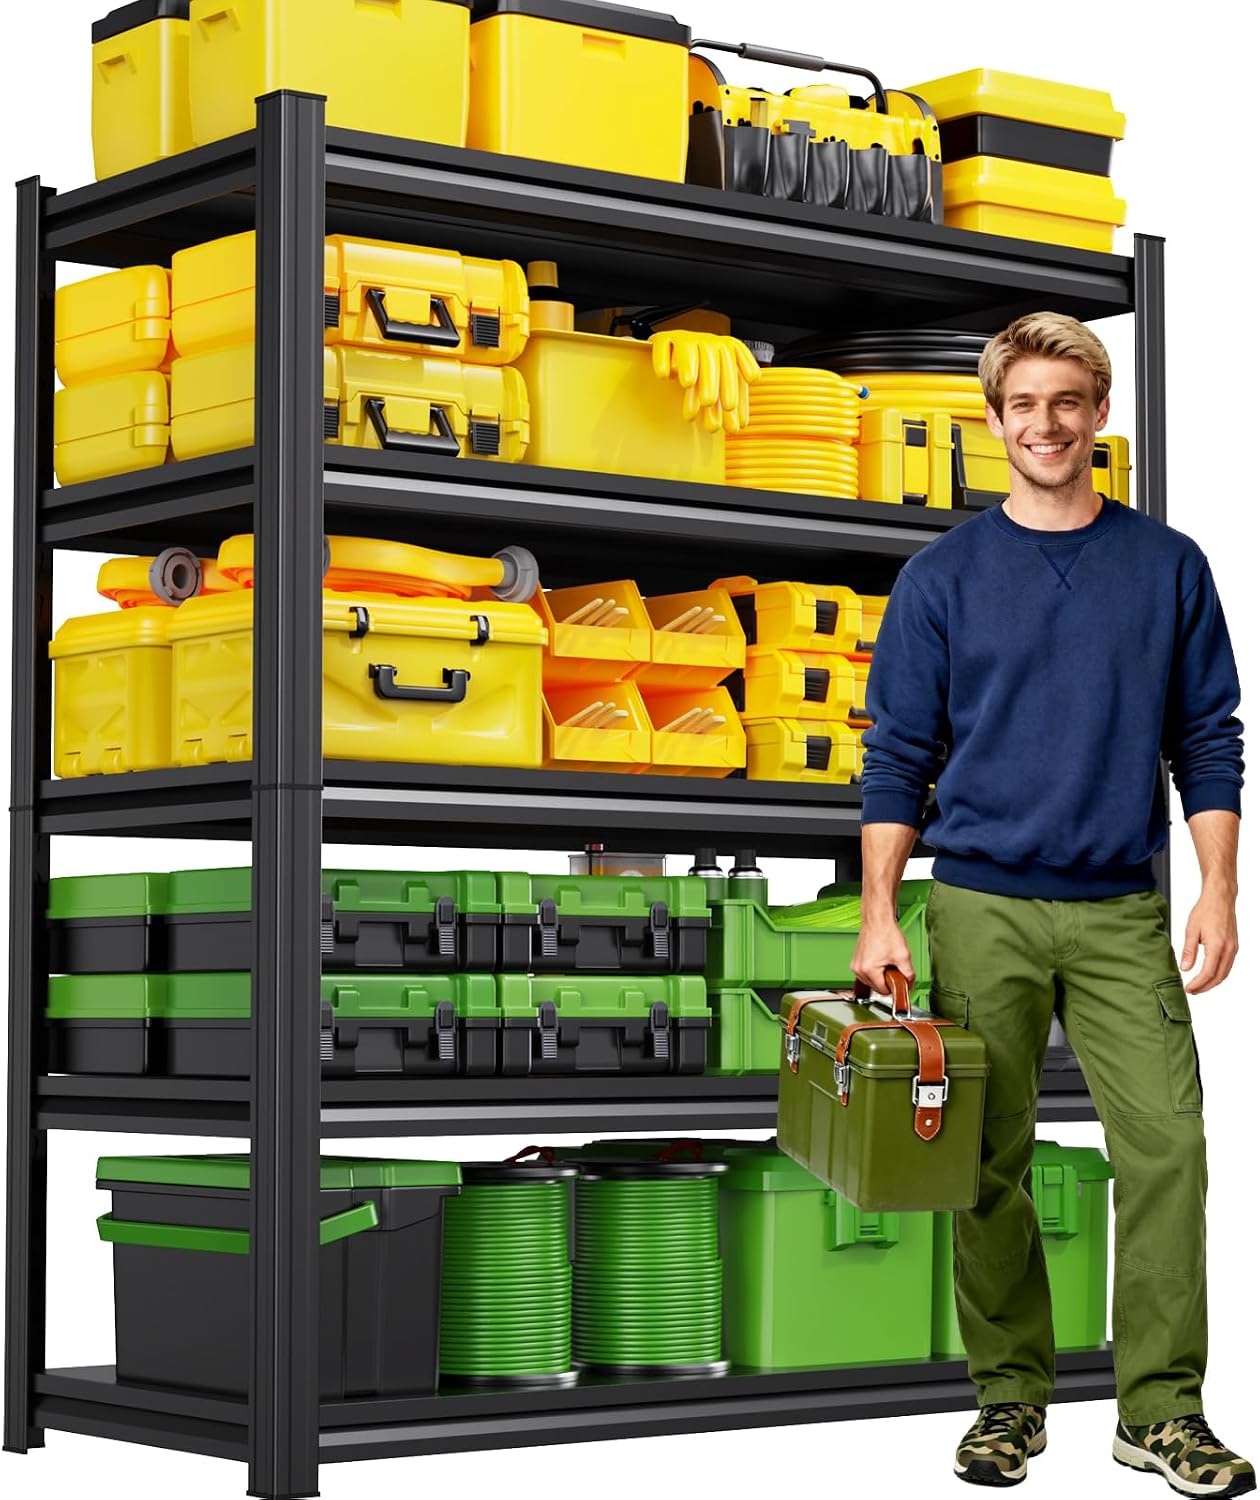
The bulk-storage workhorse: Metal Storage Shelves 5-Tier Garage Shelving Unit, 15.7" Dx35.4 Wx71.2 H Shelves Organizer, Heavy Duty Storage Shelf for Garage Storage, Storage Shelf Organizer for Home Kitchen Warehouse
 Visit on Amazon →
This is the shape I want for a garage: roughly 71 inches tall, about 35 inches wide, and 15.7 inches deep, which is shallow enough to sit against a wall without eating the parking space. Five tiers gives you four usable gaps plus the top, and that top tier is where the light stuff goes, not the tool box.
The footprint is the part most people get wrong. A 15.7 inch depth sounds small until you realize the wall it sits against is the wall your car door opens toward. Measure the door swing before you commit to a location, and if the space is tight, put the unit on the wall between the two cars or on the back wall beside the garage door track.
Because it is tall and relatively narrow, it needs to be tied to the wall. A five tier unit loaded top heavy is a lever, and the wall is the fulcrum. If you cannot find studs where you want it, do not improvise with drywall plugs. Move the unit or add a plywood backer.
Flaws but not dealbreakers: Open shelving collects dust, and anything small migrates to the back of a deep tier where you will never find it again. Label the totes and keep the back row for things you touch twice a year.
Anyone with a two-car garage and a pile of totes that currently lives on the floor will get the most out of this unit.
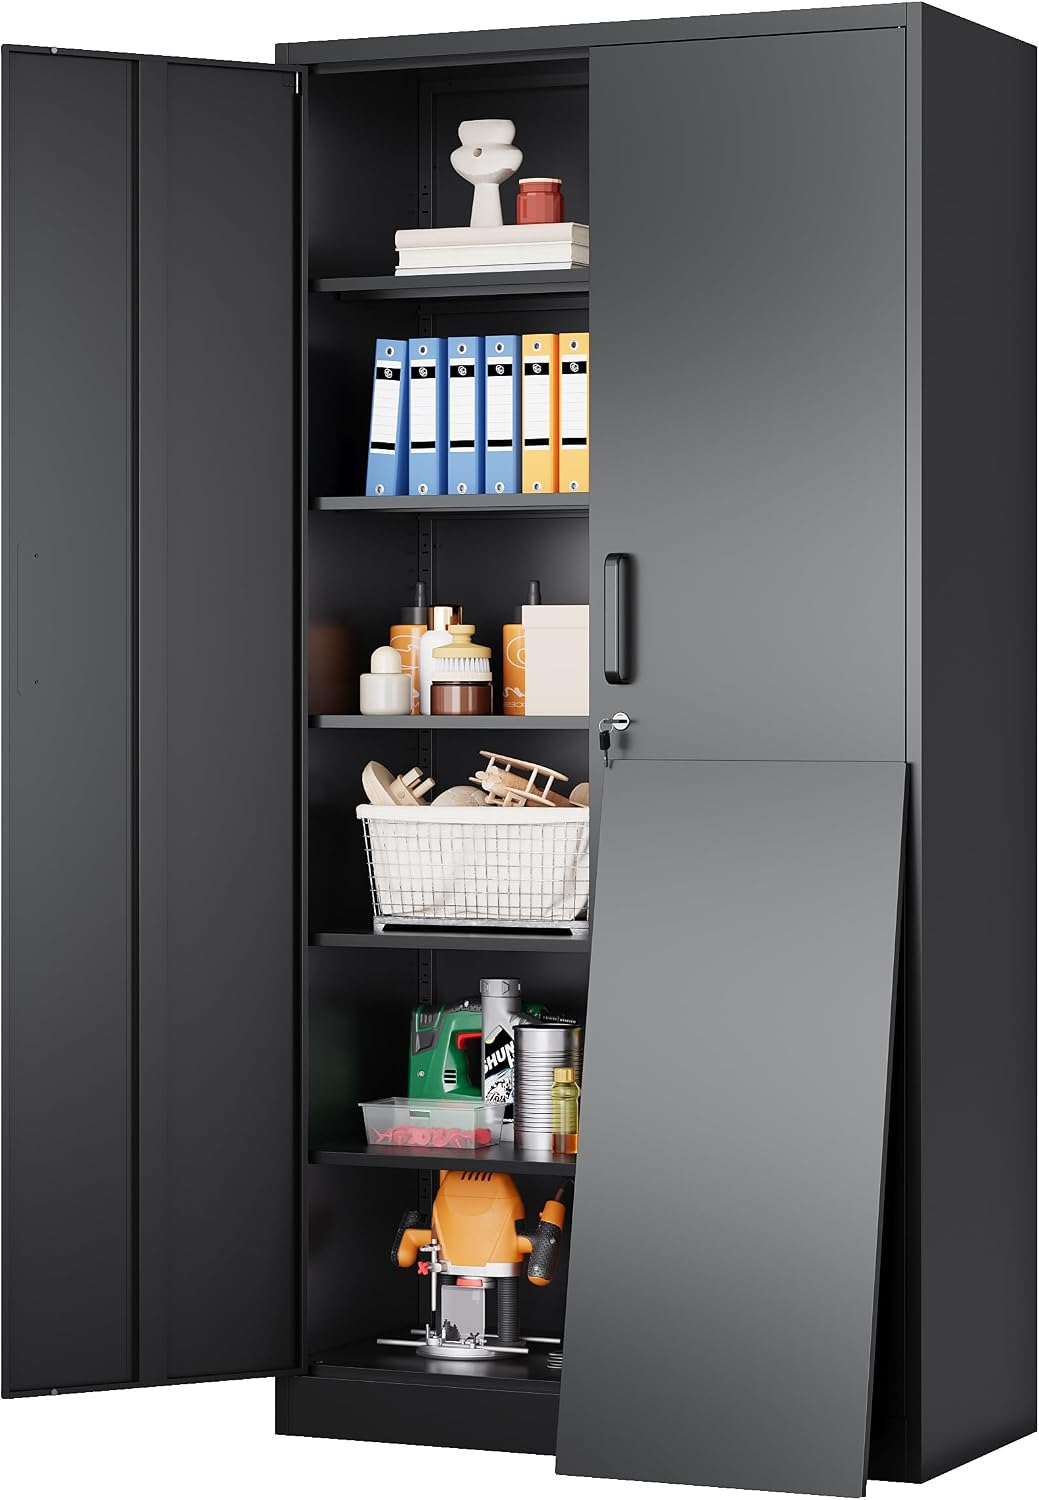
The lockable cabinet: SISESOL Wide & Deep Metal Storage Cabinet with 2 Doors and 5 Adjustable Shelves,72x36x18 Garage Storage Cabinet,Tall Black Locking Metal Cabinets with Lock,Steel Locked Cabinets for Home,Office,Garage
 Visit on Amazon →
This is the other half of the equation, and it is the one that makes a garage stop feeling like a storage unit. Two doors, five adjustable shelves, a lock, and a listed 72 by 36 by 18 inch envelope in black steel. The adjustable shelves matter more than the doors do, because shelf spacing is what decides whether a gallon of paint and a case of oil fit on the same unit.
The lock is the reason to buy it. A locking cabinet is what lets you keep the good tools at home instead of in a job box, and it is what keeps solvents off a shelf a kid can reach. It is not a safe. It is a cabinet with a lock, and it stops opportunity, not a determined thief with a pry bar and ten minutes.
Two caveats before you order. First, 36 inches wide and 18 inches deep is a real piece of furniture, so check it against your car door swing and your garage door track the same way you would the shelving. Second, it needs a reasonably flat floor. Garage slabs slope toward the door on purpose, and a tall cabinet on a slope will rack unless you shim it and check the doors before you load it.
Flaws but not dealbreakers: It is heavy, and heavy is the point, but it means you should not plan to move it twice. Decide the location on the floor with tape before you uncrate anything.
Anyone who has ever had a tool walk off, or who wants paint and chemicals behind a door instead of on a shelf, should look here first.
How to install both, step by step
This is the order I work in. It is not complicated, but the sequence matters, and skipping step two is how units end up on the floor.
Step one: Empty the wall and measure the car. Not the garage. The car. Park it, open both doors all the way, and mark the swing with tape on the floor. Anything you place inside that arc is going to get hit. Then measure the wall you plan to use, corner to corner, and write the number down. Do not trust your eye on this. I keep a tape measure in every jacket pocket and I still write it down.
Step two: Find the studs. Run a stud finder across the wall and mark each stud with a strip of painter's tape, floor to ceiling. Then verify. A stud finder is a good guess and a finish nail is a fact. Tap a thin nail through the drywall at your mark. If it bites wood, you found it. If it sails through into air, move two inches and try again. On an unfinished garage wall the studs are right there and you can skip the guessing.
Step three: Decide the load path before you load anything. Heaviest items on the lowest shelf, always. The bottom tier is the strongest part of any shelving unit because the load goes straight down the uprights into the floor. The top tier is for pillows, empty coolers, and holiday boxes. If you put a loaded tool chest on the top tier of a five tier unit, you have built a tipping hazard and the anchor is the only thing standing between you and a very bad afternoon.
Step four: Assemble on the floor, snug then square then tight. Every bolted shelving unit I have ever assembled goes together the same way. Start every bolt finger tight, stand the unit up, check it for square with a tape measure across the diagonals, and only then run everything down tight. If you torque the first bolt before the frame is square, you will fight the rest of the assembly and the unit will sit crooked forever.
Step five: Set it, shim it, level it. Garage slabs slope toward the door so water runs out. That means almost nothing in a garage is level out of the box. Slide shims under the low corner until the unit sits flat without rocking, then check it with a level on two faces, not one.
Step six: Anchor it into structure. This is the step that matters. Two anchor points minimum into studs for a tall shelving unit, through the uprights or through the back rails. The cabinet gets fastened the same way, into studs, or into a plywood backer you have screwed to studs. If your wall is masonry, you are using masonry anchors sized for the block, not drywall plugs with a longer screw. If you cannot find structure, stop and rethink the wall, not the fastener.
Step seven: Load it bottom-heavy and leave air at the top. Distribute weight evenly across the shelf rather than piling it in one corner, and leave the top tier light. This is also the moment to decide what actually earns shelf space. If you have not touched it in two years, it goes to the donation pile, not the top tier.
Step eight: Come back after a season and re-check. Bolts loosen. Powder coat fails. Anchors pull a fraction of an inch. Walk out in the spring with a socket wrench and a screwdriver, check every fastener, and re-level anything that has shifted. Five minutes, once a year.
Wall type decides your anchors
I will not give mounting advice without knowing the wall, and neither should anyone else. Unfinished garage walls are usually open studs, which is the easiest case in the world: fasten straight into wood, no guessing.
Finished walls are drywall over studs, and that is where people get into trouble. Drywall holds almost nothing in shear once a load starts shifting, and a shelf that gets bumped repeatedly will work a drywall plug loose. Find the studs.
Masonry and block walls need masonry anchors and a hammer drill. Concrete needs the right bit and the right anchor for solid concrete, not the hollow block version.
And if the wall you want is the wall you cannot use, add a plywood backer. A sheet of three-quarter inch plywood fastened across three studs gives you a mounting surface anywhere on that wall, and it solves the problem permanently for the cost of one sheet.
Mistakes that put shelving on the floor
Three of them account for most of the failures I see.
The first is trusting a drywall plug. If the hardware bag says "wall anchor included" and it is a plastic plug, that is for a picture frame, not a loaded shelf.
The second is loading from the top down. A unit is only as stable as its center of gravity, and a top-heavy shelf leans away from the wall every time someone bumps it.
The third is setting a tall unit on a sloping slab without shimming it. The frame racks, the doors on a cabinet stop lining up, and the whole thing feels loose even though every bolt is tight.
The order I would buy them in
Buy the open shelving unit first. It solves the volume problem, it costs the least, and it is the one that gets totes off the floor this weekend.
Add the locking cabinet second, when you have decided what is worth locking and where it fits. Measure the spot, check the door swing, and confirm the floor is flat enough to shim.
That is the whole job. Two units, one stud finder, one afternoon, and a garage that finally holds what you own instead of the other way around.