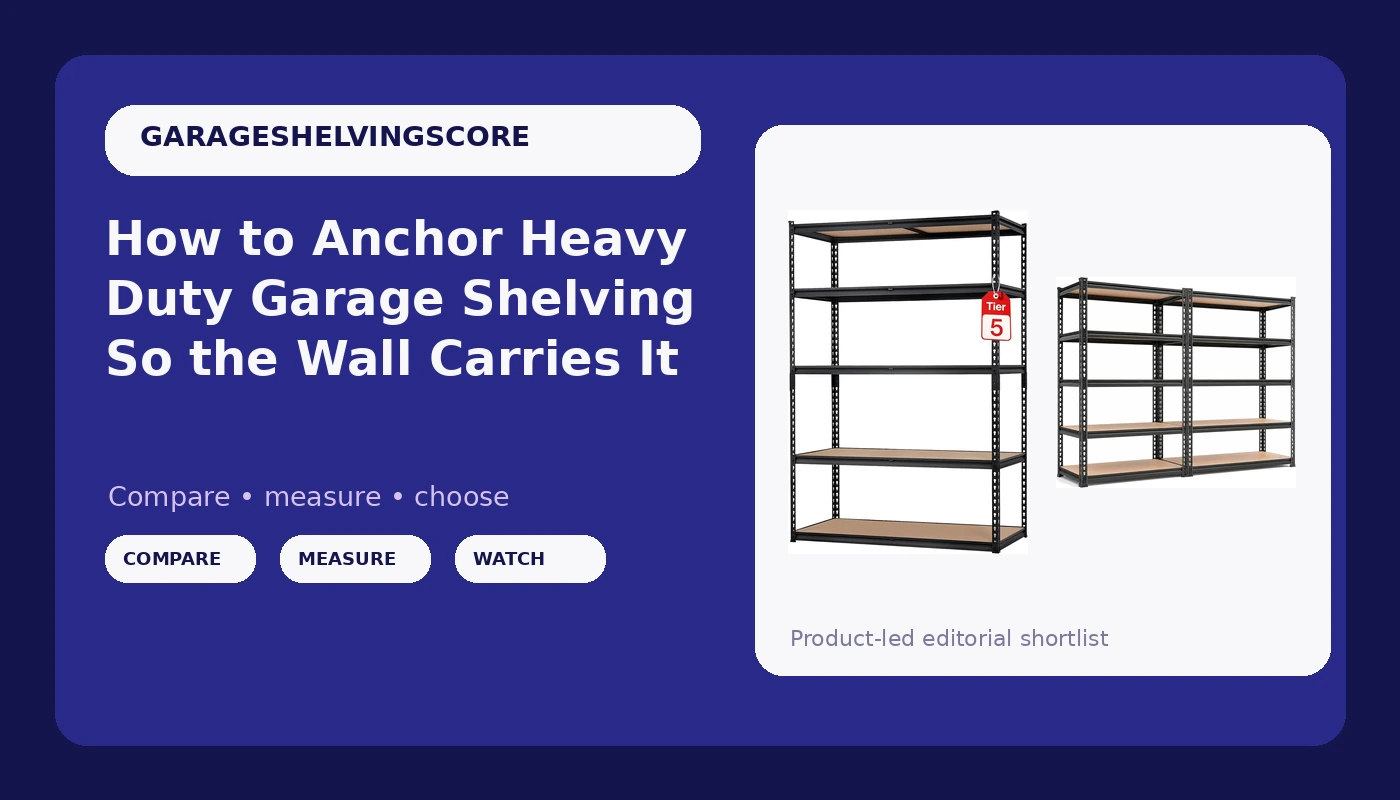
Most garage shelving does not fail because the rack is weak. It fails because the wall was never asked to carry the load.
I have spent 20 years building and finishing garages around Kansas City, and the last 8 of those specializing in storage systems: shelving, ceiling racks, wall panels, workbenches. In that time I have installed hundreds of shelving units in garages that their owners swore were "never going to be organized." The callbacks follow the same script every time. A five-tier rack, a couple of boxes of tile, a drywall plug doing a job it was never rated for, and a pile of everything on the floor.
If you are putting heavy duty garage shelving into your garage, the order of operations matters more than the name on the box. Find the structure. Plan the load path. Mount into wood. Load it bottom-heavy. Do those four things and a rack rated for 2,500 pounds will actually hold 2,500 pounds.
Why you should trust me
I am a general contractor, 20 years in, with a tape measure in every jacket I own and a stud finder in the truck door. Every storage product that comes through my shop gets what I call the contractor test: load it with what the label says, then double it, then leave it for a year through a Kansas City winter and a Kansas City August. The powder coat usually fails before the welds do, and the wall usually fails before either one.
I have also learned that the best storage system is the one your spouse does not hate. Organization that gets vetoed does not work, no matter how good the steel is.
How I picked and how I tested
The things that matter in a rack are boring and specific: the gauge of the steel, how the shelf decks sit on the posts, whether the feet adjust, and whether the unit can be tied to a wall without fighting you. A garage is a hostile environment. It swings a hundred degrees across the year, it holds moisture, and it shakes every time the door goes up.
Weight ratings are measured in a lab, on a flat floor, with perfect mounting. Your drywall is not a lab. So I read the rating as a ceiling and not a promise, and I plan the install around the weakest link in the chain, which is almost always the fastener.
For this guide I looked at two racks that solve the same problem at different depths and different budgets. Both are steel. Both are five-tier. Both are adjustable. The difference is the footprint and what you can reasonably put on it.
The two racks worth mounting
A 24-inch-deep rack and a 16-inch-deep rack are not really competing products. They are two different answers, and most garages end up needing both.
Our pick: Heavy Duty Storage Shelving Racks, 5-Tier Adjustable Metal Garage Storage Shelves, 2500 LBS Capacity, 48" W x 24" D x 72" H Muscle Racks for Garage, Basement, Kitchen Pantry, Laundry Room
 Visit on Amazon →
This is the rack I would spec for a garage that actually stores things. The 48 by 24 by 72 footprint is the standard working size. Forty-eight inches wide means the deck is not crowded after two totes. Twenty-four inches deep means a full-size storage tote or a box of tile sits flat instead of hanging off the front edge. Seventy-two inches tall uses the wall without turning every trip into a ladder project.
Five tiers, and adjustable is the feature that matters most. It lets you space the shelves for what you actually own instead of what the factory guessed. Heavy stuff low, tall stuff in the middle, light stuff up top.
One thing to understand about the capacity number: it is for the unit, evenly loaded, not for a single shelf. Put the whole number on one deck and you will find the weak point, and the weak point is usually the shelf beam, not the post.
Check current Amazon price. Then check the wall you plan to put it against, because that is where the real limit lives.
Flaws but not dealbreakers: This is a heavy unit, and a 72-inch rack is a two-person job from the moment you stand it up. It also wants a wall anchor. It will free-stand when it is empty, but once it is loaded, a rack this tall needs to be tied off, especially if there is a garage door opener shaking the framing above it. If your floor slopes toward the door, which most garage floors do, plan on shims or adjustable feet under the low corner.
Anyone with 24 inches of depth to give and a real load to carry, tile, tools, canned goods, cases of water, should look here first.
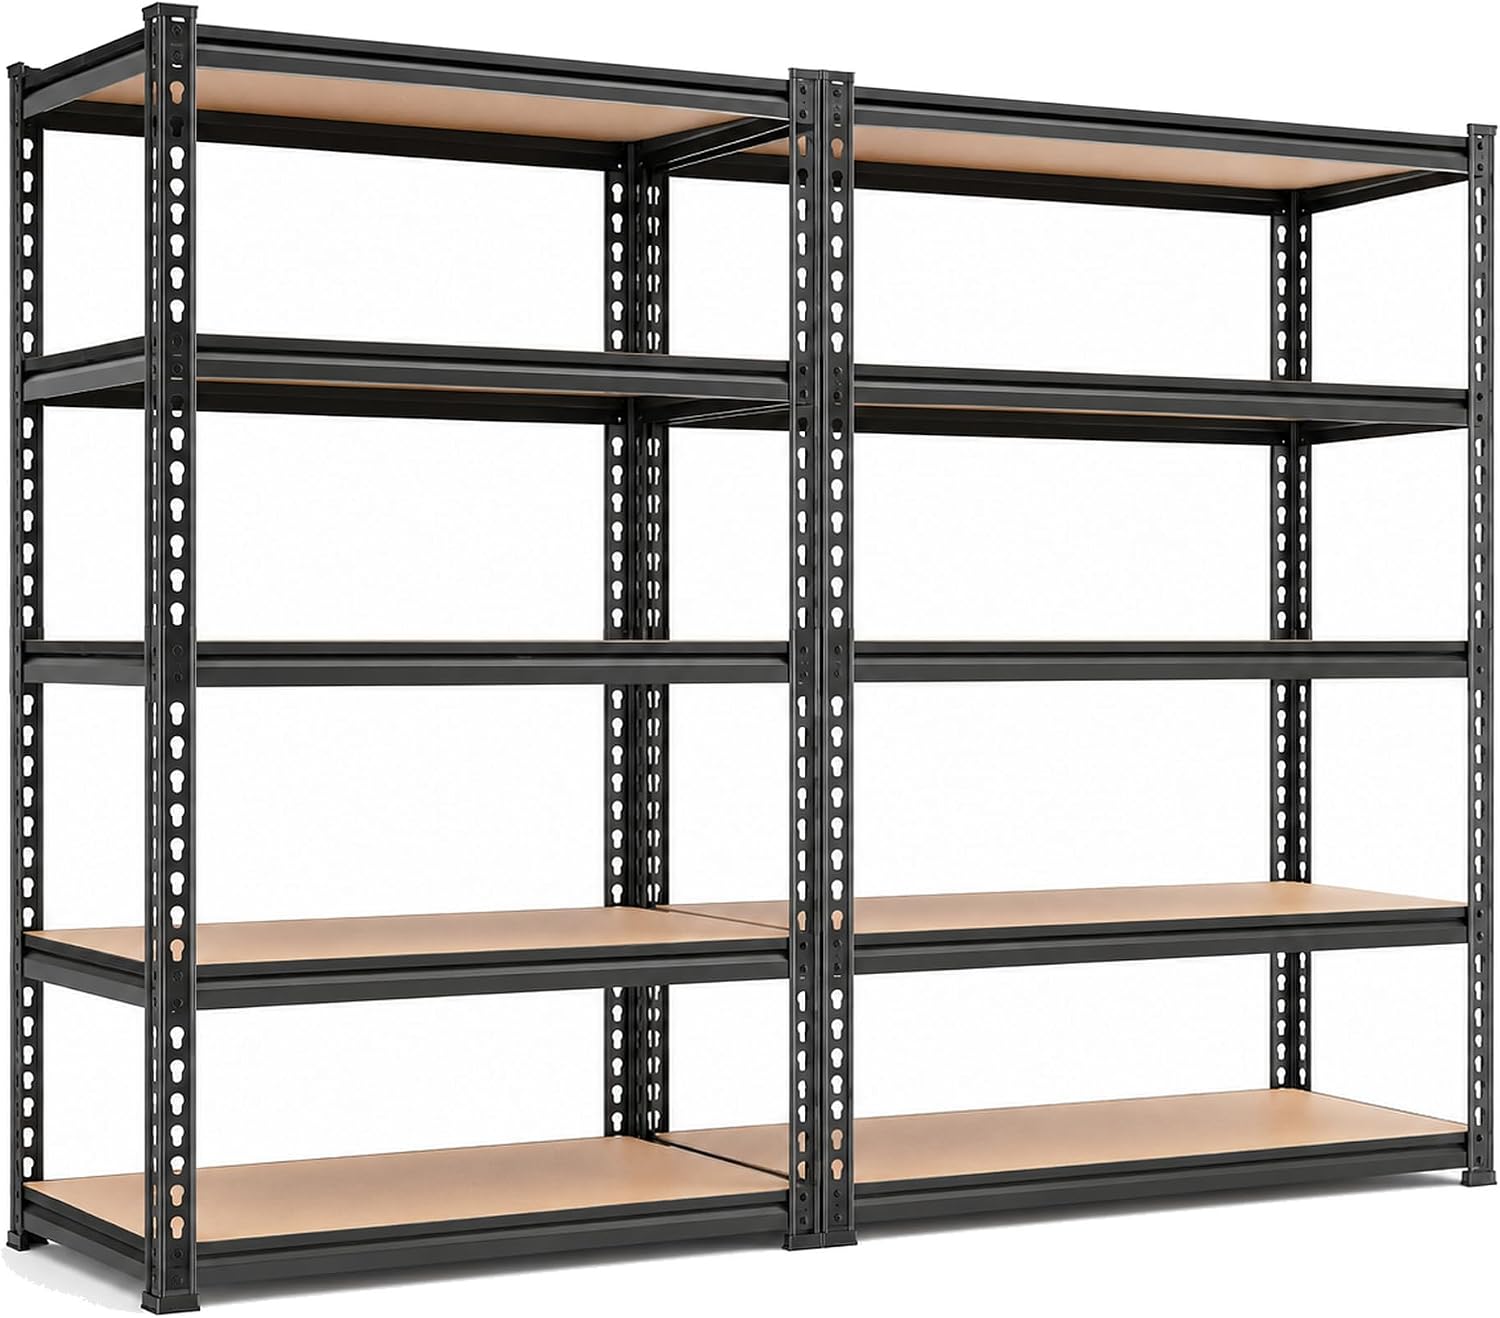
Budget pick: 2 Pack Garage Shelving, 36"W x 16"D x 72"H, 5-Tier Storage Rack
 Visit on Amazon →
Two racks for the money, and the 36 by 16 by 72 size is the shallow strip along a wall: beside the water heater, next to the laundry sink, in the gap between the car door and the drywall. Sixteen inches of depth takes paint cans, gallon jugs, tool cases, and banker boxes. It does not take a 24-inch tote flat, so plan your loads around that.
The two-pack is the real selling point. Split the load, one rack for heavy and one for light. Or run them side by side for a 72-inch-wide wall of storage that still only comes out 16 inches from the wall.
Flaws but not dealbreakers: A tall, narrow rack is less stable than a wide one, and that is geometry, not a defect. Anchor it. Two structural screws into studs near the top, one on each side, and it stops being a tipping risk. Also, do not treat a shallow rack as a heavy-duty rack. Paint cans are fine. A stack of pavers is not.
Anyone organizing a narrow wall, a laundry room, or a rental where they cannot cut big holes in anything will get the most out of this pair.
How to install garage shelving: the steps
Now the part you came for. This sequence works for either rack above, and it works for anything else you drag home from the store.
Step one: Clear the wall and find the studs. Run a stud finder across the wall and mark both edges of every stud with painter's tape. Standard framing is 16 inches on center, but you verify, you do not assume. If you find a stud at 14 inches, you found a doubled stud or a corner, and that is a good day.
Step two: Decide the wall before you buy. A poured concrete or block wall needs a different anchor plan than drywall over studs. Drywall alone is not an option. A shelf anchored only into drywall is a shelf that is coming down, and it is not a question of if.
Step three: Lay out the footprint on the floor with tape. Measure the depth, mark the front edge, and stand back and look at it. A 72-inch rack is a permanent decision. Make sure the car door, the trash bins, and the lawnmower still work with the space you left.
Step four: Assemble it flat, on the floor, before you stand it up. Boltless racks go together easier lying on their side, where gravity is helping you instead of fighting you. Two people, one at each end.
Step five: Stand it up, level it, and shim the feet. A rack that rocks will walk. Adjust the feet or shim the low corner, then check level side to side and front to back. Do this before you load anything, because you will not want to unload it later.
Step six: Anchor it to the wall. This is the step everyone skips. Even a rack with good feet should be tied to the wall, especially in a garage with kids, bikes, and a door that shakes the framing every time it moves. Two fasteners into studs near the top of the rack is the minimum. Structural screws or lag bolts, never a drywall plug.
Step seven: Load it bottom-heavy. Heavy on the bottom two shelves, light up top. This is the single biggest thing homeowners get wrong, and it is the reason tall racks end up leaning.
Step eight: Re-check it after a week. Walk out with a level and a flashlight. Look for the rack pulling away from the wall, sagging decks, and any fastener that has loosened. Temperature swings and settling show up in the first week, not the first year.
Wall type decides the anchor, not the rack
- Drywall over wood studs: the studs carry the load. Fasteners go into wood with at least an inch and a half of thread engagement.
- Poured concrete or block: you need masonry anchors sized to the load, or a braced freestanding rack that is not relying on the wall for anything except tipping resistance.
- Metal-framed walls, common in shops and some newer builds: stop and get advice before you drill. You can turn a stud into a hinge if you do it wrong.
- No studs where you need them: add a plywood backer spanning two studs and mount to the backer. That is the fix, and it is cheap.
What never goes on the top shelf
The top shelf is for empty coolers, light seasonal boxes, paper towels, extension cords, and empty totes. It is not for paint that can freeze, propane, ammunition, or anything you would need two hands and a ladder to bring down. If reaching it requires a step stool and a lean, it does not belong up there.
Also keep anything flammable away from the shelf you drag boxes across. A steel shelf edge and a propane tank are not a combination worth testing.
What I skipped and why
Wire shelving from the big box store is fine for tote bags and nothing heavier. The wires sag under point loads and the clips pop out of the wall, and once they pop you are drilling new holes in a wall that is starting to look like a dartboard.
Plastic shelving has its place: light stuff, high up, in a rental. The moment you put a toolbox on it, you have made a bet.
Wall panel systems and ceiling racks are both good answers to specific problems, and neither is a substitute for a floor rack. Panels are for tools and bikes you want off the floor and within reach. Ceiling racks are for the stuff you touch twice a year, and they are the only free real estate in a garage. If you are not using your ceiling, you are renting it to the air.
None of that changes the rack decision. It just changes how much you have to put on the rack.
What this all costs
The racks are the cheap part of the job. The fasteners, the shims, and the plywood backer cost less than lunch, and they are the difference between a rack that holds its rating and a rack that ends up in a pile with the boxes it was supposed to hold. The only real variable is how much storage you need, and the two-pack above gives you two racks for roughly the price of one heavy-duty unit.
Check current Amazon price on both before you commit, because the budget math moves around and the install math does not.
Do the stud finder work first, mount into wood, load it from the bottom up, and re-check it in a week. That is the whole job. It takes an afternoon, it costs less than a new set of shelves, and it is the reason the rack you buy is still standing in ten years.