
Most heavy duty garage shelving fails for one reason, and it is not the shelf. It is the wall behind it. Steel gets sold on the strength of the steel, but steel does not hold anything up by itself. The load has to travel from the shelf, through the bracket, into the upright, through the fastener, and into wood that can actually carry it. Break that chain anywhere along the way and you have a rack full of paint cans leaning off the wall by spring.
I have installed garage storage for two decades, the last eight of those full time, and I can tell you the failure is almost never dramatic. It is a slow lean, a popped anchor, a shelf that sags a half inch and never comes back. The fix is not a more expensive rack. It is twenty minutes of prep before you drill the first hole.
Why you should trust me
I am Buck, a general contractor in Kansas City, Missouri. Twenty years in the trade, eight of those specializing in garage storage systems: shelving, ceiling racks, wall panels, workbenches. I have installed hundreds of shelving units in garages that the owner swore were never going to be organized, and I have made believers out of most of them.
Everything I recommend goes through what I call the contractor test. Load it to what the label says, then double it, then leave it for a year through a Kansas City winter and a Kansas City August. Weight ratings are measured in a lab with perfect mounting. Your drywall is not a lab. The racks that survive my test are the racks I put in paying clients' garages, and the ones that fail get written down, because the failure tells you more than the spec sheet does.
I keep a tape measure in every pocket, which my wife finds hilarious and my knees find necessary.
What I looked for before I picked these two
This is not a list of every rack on the market. It is two units that cover the two jobs a garage actually has.
The first job is static storage: totes, paint, seasonal gear, the stuff that lives on a wall for years. For that you want adjustable shelf heights, a footprint that does not eat your parking space, and uprights that can be fastened to structure.
The second job is flexible storage: a rack that moves so you can sweep under it, pull it out to reach the back, and push it against the wall when the car comes home. That job needs casters and leveling feet, and it usually means wire rather than solid steel shelves.
Here is what I checked on both units: whether the shelf heights are adjustable without tools, whether the depth leaves room for a car door to open, whether the uprights give you a place to fasten into a stud, whether the feet can take up the slope of a garage floor, and whether the hardware in the box is worth using or gets thrown in a coffee can.
Before you start: three questions about your wall
Mounting advice without knowing the wall type is worthless, so answer these before you buy anything.
What is the wall made of? Drywall over wood studs, exposed framing, concrete block, brick veneer, or a finished wall with a vapor barrier behind it. Each one takes a different fastener and a different plan.
Where are the studs? Use a stud finder, then confirm it with a thin finish nail or a strong magnet. Studs run 16 or 24 inches on center in most homes. Mark each one with a strip of painter's tape so you are not guessing while you hold an upright in place.
What is the floor doing? Garage floors slope toward the door so water runs out. That slope is why leveling feet matter and why a rack with fixed feet will rock forever.
The two units I would start with
Different jobs, different racks. One is a five tier steel unit for volume, one is a wire rack on casters for flexibility.
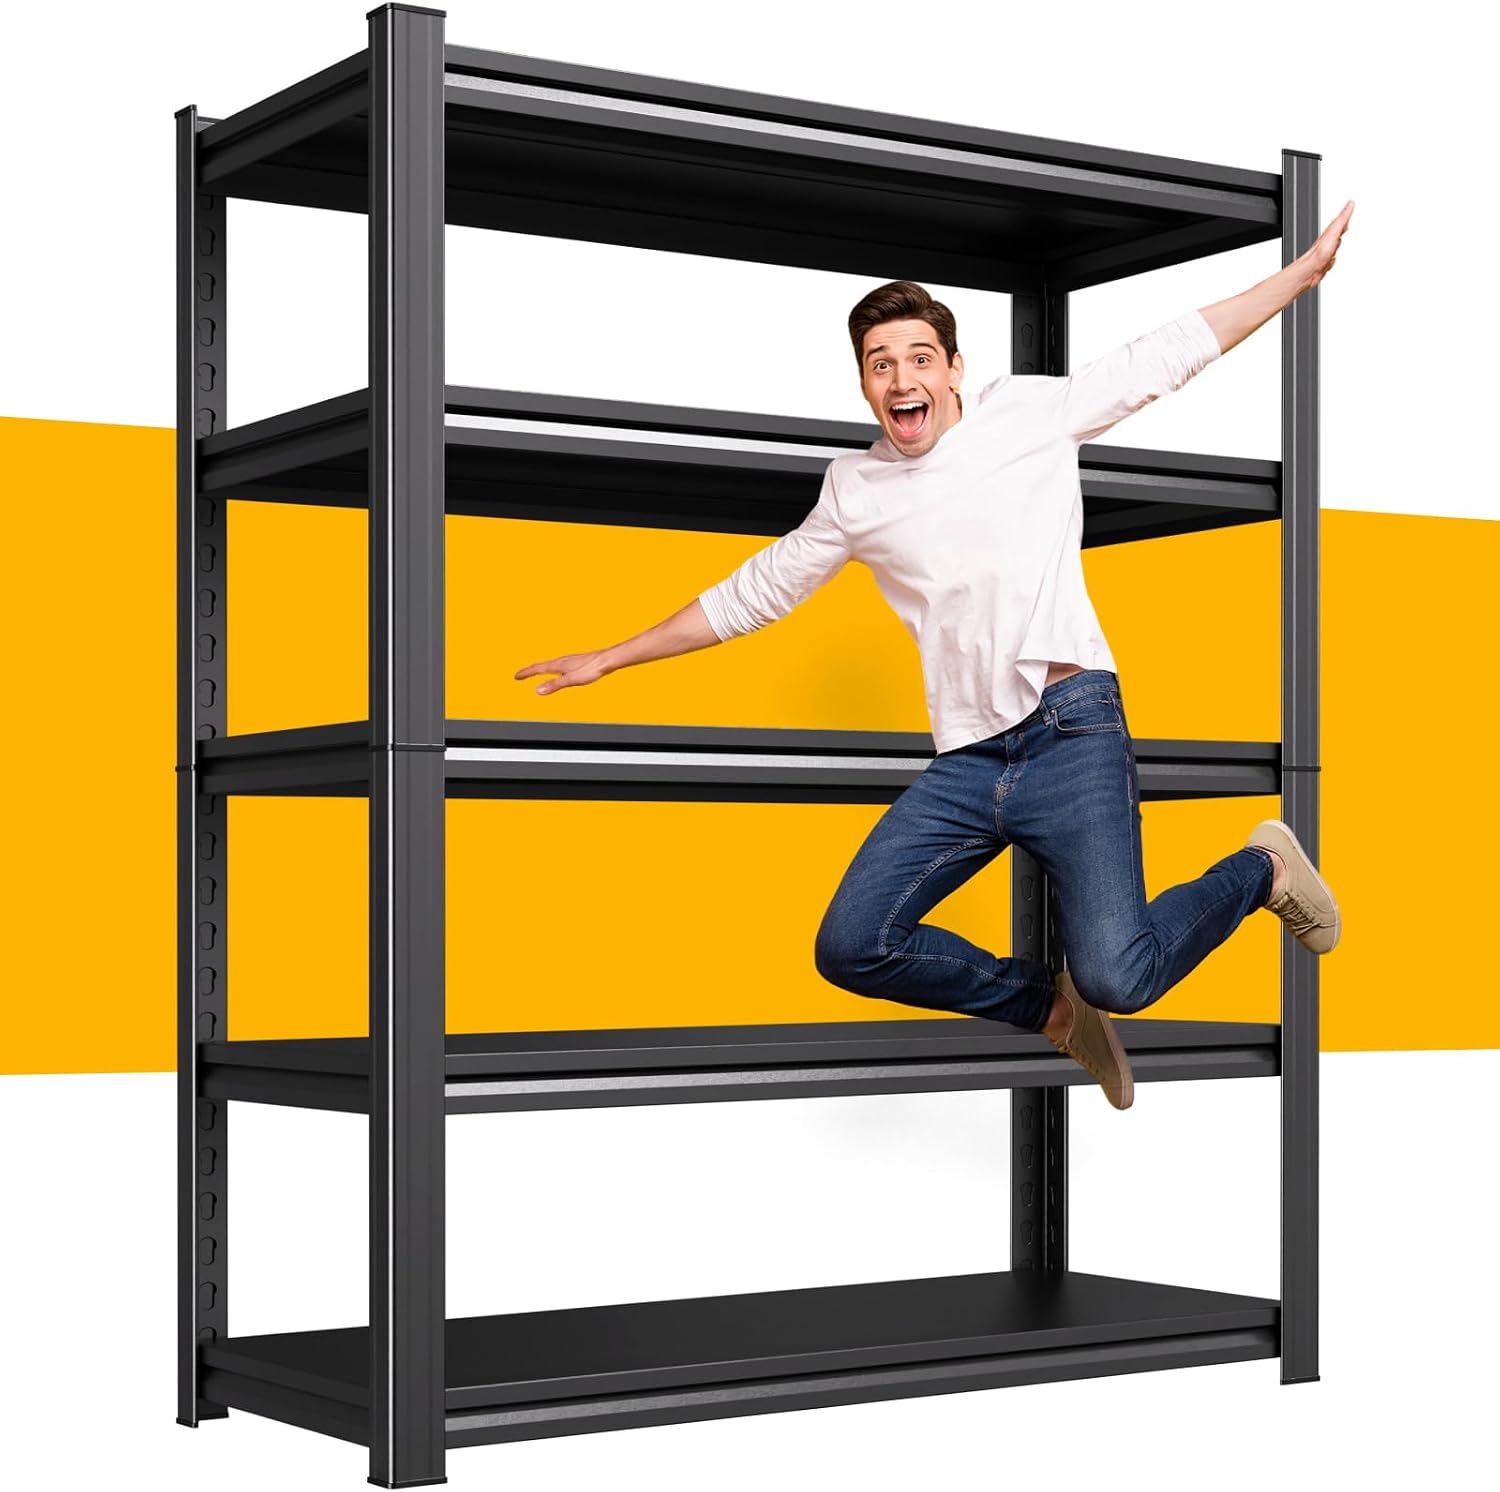
Budget pick: 35.4''W*71.2H Metal Storage Shelves,5-Tier Adjustable Garage Shelving
 Visit on Amazon →
This is the unit I hand to a homeowner who wants five tiers of steel and does not want to think hard about it. Five shelves means you can set the spacing around what you actually own instead of fighting a fixed layout, and the height puts the top tier up in the dead space near the ceiling where nothing else fits.
What I like is the adjustability. You can set the bottom shelf high enough to slide a shop vac under it, then space the upper shelves tight for totes. That flexibility is worth more than a slightly thicker gauge of steel.
Flaws but not dealbreakers: A tall loaded rack is a lever. This one wants to be against a wall, and it wants to be fastened to a stud, especially in a garage where a car door or a kid on a bike is going to bump it. Do not leave it standing free in the middle of the floor and call it done.
Anyone storing totes, holiday bins, and paint in a two car garage will get years out of this one.
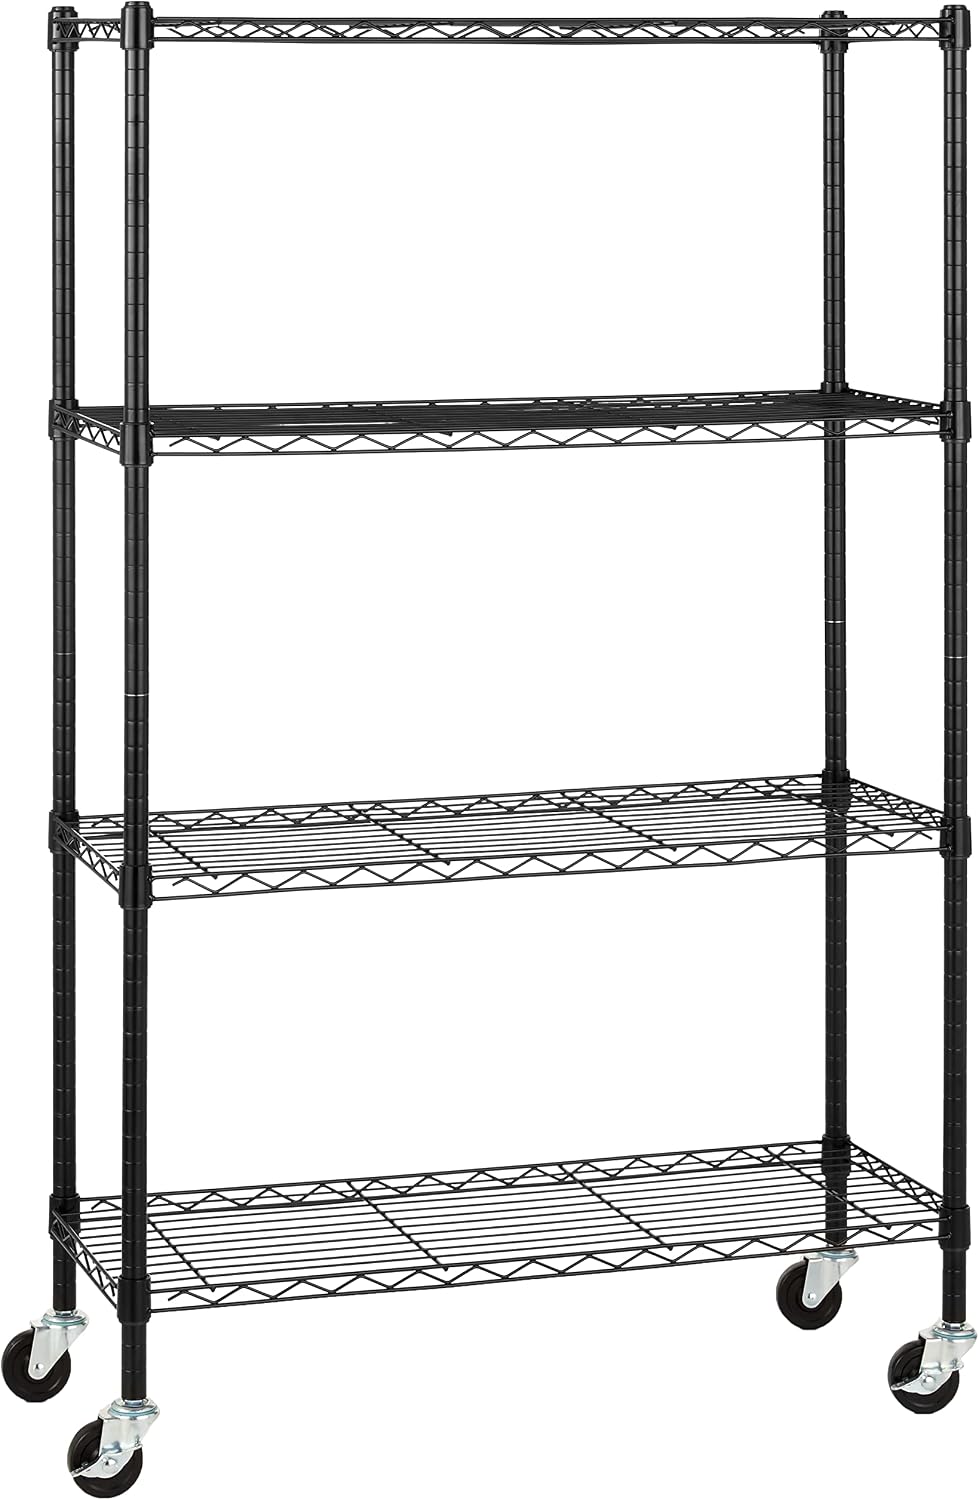
Our pick: Amazon Basics 4-Shelf Heavy Duty Garage Shelving Storage Unit on 3" Wheel Casters, Adjustable Metal Wire Rack with Leveling Feet, 36" x 14" x 57.75", Black
 Visit on Amazon →
This is the one I recommend when the garage has to do two things at once. The casters let you roll the whole rack out from the wall to sweep, to reach the back, and to load it without crawling. The leveling feet are the part most people overlook: swap the casters for the feet and the rack sits solid on a sloped slab instead of chasing a wobble forever.
The depth is the other reason I like it. A shallow rack keeps the aisle open so a car door still opens all the way, and that single detail is what decides whether a storage system gets used or gets resented.
Flaws but not dealbreakers: It is wire, and wire has a rule. Totes, boxes, jugs, and light gear are fine. A loaded tool box or a stack of brake rotors is not. Wire shelves sag under point loads, and the clips that hold them are the first thing to complain. If your load is dense metal, buy a solid steel unit and bolt it to the wall.
Anyone who wants a rack that moves, or who parks a car in the same bay, should look here first.
The installation workflow
This works on any rack, from either of the units above to whatever you already own.
Step one: measure the wall and the ceiling. Know your height before you build. A rack that stands taller than the clearance under a garage door track or a light fixture is a problem you find at the end instead of the beginning.
Step two: find the studs. Mark each one with tape. This is the step that decides whether your shelf is still on the wall next year.
Step three: plan the load path before you drill. Figure out which uprights will land on a stud and which ones will not. The ones that do get lag bolts or heavy structural screws. The ones that do not need a proper anchor rated for the load, not a drywall plug that came in the box.
Step four: set the rack and mark the holes. Have a second person hold the upright while you mark. Use a level on the front face and on the side, because a rack can be plumb in one direction and leaning in the other.
Step five: fasten into studs first. Get the structural fasteners in before the anchors. If a hole lands where you did not expect wood, stop and re-plan rather than forcing a fastener into nothing.
Step six: level the feet. On a sloped floor, run the leveling feet down until the rack stops rocking. On casters, lock them or set the rack on its feet once it is where you want it.
Step seven: load it bottom heavy. Heaviest items on the lowest shelf. This is not a suggestion, it is stability.
Step eight: give it a shake. Grab an upright and push. If it moves more than the wall moves, you have more work to do.
The contractor test: how to load it
Here is how I check any rack I install. Load it to the rating on the box, then double the load, then leave it alone for a year and look at it again in the spring.
The things that fail first are not the welds. It is the powder coat flaking off after one winter of temperature swings, the anchor pulling a quarter inch out of drywall, and the shelf clips popping when the load shifts. Check those three every fall and you will catch a problem while it is still cheap.
A few loading rules I follow in every garage. Chemicals and paint go low, both for weight and for spills. Anything you use weekly goes at waist height so you are not on a step stool every Saturday. Seasonal gear goes high, because you touch it twice a year. And nothing goes on the top shelf that you cannot lift down safely by yourself.
Mistakes I see on every job
Anchoring into drywall alone and calling it mounted. Drywall holds a picture frame. It does not hold a loaded rack.
Skipping the leveling feet because the rack "looks fine." It looks fine until the load settles and the whole thing leans.
Loading the top shelf first because that is where you had room. Now the rack is top heavy and you are reaching over your head to add weight.
Buying more depth than the garage can spare. A deep rack that blocks a car door is a rack your spouse will hate, and storage that gets vetoed does not work.
Drilling without checking what is behind the wall. I have put a bit through a water line and I own the t-shirt. Know where the plumbing and the conduit run before you drill.
What this costs you
The money part is easy and it is not the part that matters. The part that matters is the afternoon. Two people, a stud finder, a level, a tape measure, a drill, and a Saturday morning will get a rack built, leveled, and loaded. Doing it alone takes longer and gives you worse marks on the wall.
Compare that to the cost of doing it twice, which is what happens when a rack comes down and takes a shelf of paint with it.
The short version
Find the studs. Plan the load path. Fasten to structure, not to drywall. Level it on the slope. Load it bottom heavy. Then leave it a year and check it again.
Do that and the rack in your garage will outlast the car parked next to it. That is the job. Your garage was built to hold this stuff. Give it a wall worth trusting.