Most garage shelving fails for one of two reasons: it was never fastened to anything that can hold a screw, or it got loaded with more weight than the frame was ever built for. Learning how to install garage shelving that lasts is less about the shelf and more about the wall behind it.
I have been building and finishing garages in the Kansas City area for 20 years, and the last eight have been almost entirely storage systems. The failures look identical every time. A plastic unit with a toolbox parked on the top shelf. A metal rack held to the drywall with the little plastic plugs that came in the bag. A shelf that was dead level in October and leaning by February.
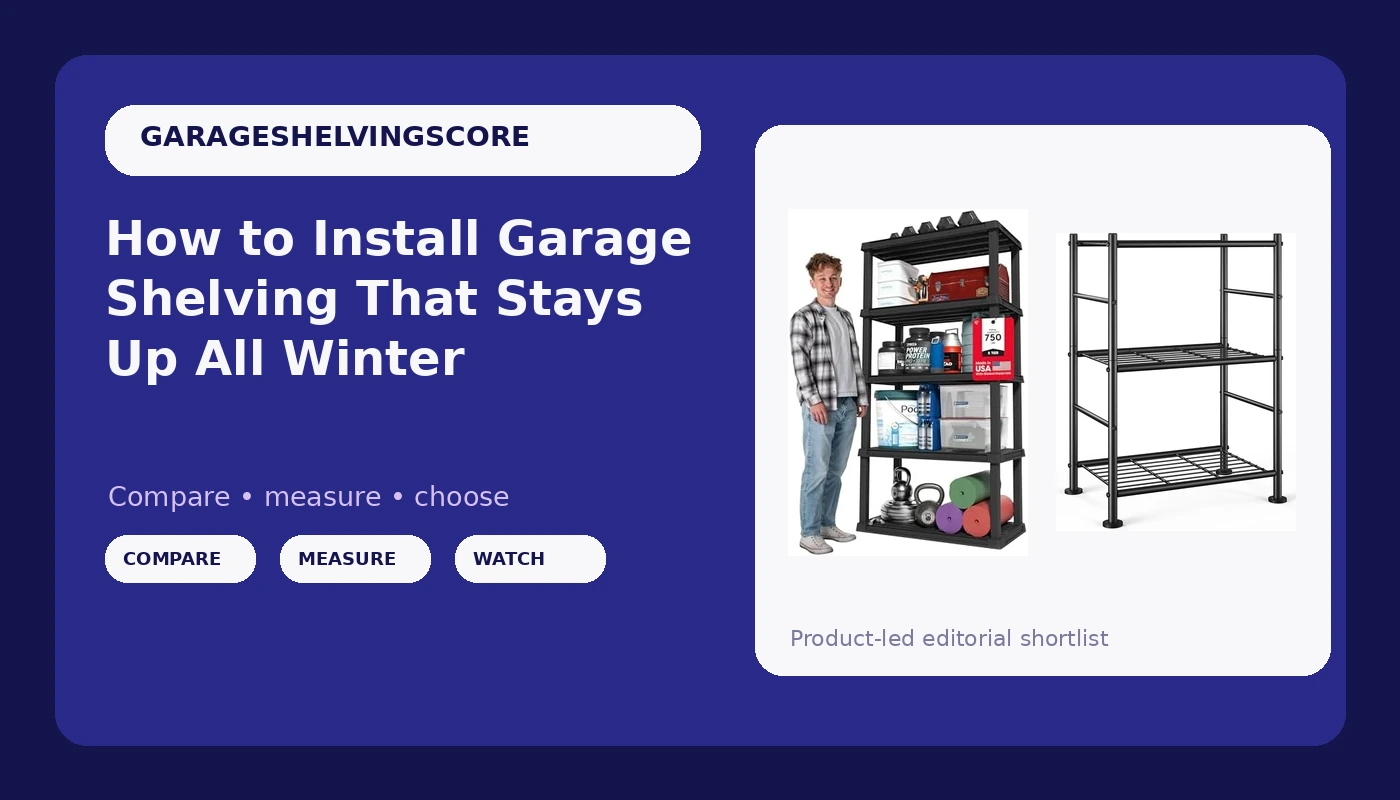
The two units in this guide cover the two ends of the job: a compact metal three-tier rack for the bench and the corner, and a tall plastic unit for the light, bulky stuff that eats floor space. Neither one requires a pro. Both require you to spend 20 minutes on the wall before you spend a dime on the shelf.
Why you should trust me
I have installed hundreds of shelving units in garages that the owner swore were never going to be organized, and I have made believers out of most of them. I am a general contractor first, so I look at a shelf the same way I look at a deck ledger: where does the load go, and what is holding it there.
My rule is what I call the contractor test. Load it with what the label says, then double it, then leave it for a year and see what the powder coat and the welds look like in March. I have run that test on enough units to know that the rating on the box is measured in a lab with perfect mounting. Your drywall is not a lab.
I also keep a tape measure in every pocket, which means I have measured more garage walls than I can count. That is the number that matters most here, and it is free.
How I picked and how I tested
I picked these two because they solve different problems and they are both honest about what they are. One is a steel rack with adjustable feet that you can level on a sloped slab, which is the single most common thing I see done wrong. The other is a tall plastic unit that belongs up high with light bulk, and it will do that job for years if you respect it.
Here is my honest disclosure: I do not have a full winter of data on these two specific units yet. What I can tell you is exactly what I check, so you can check it yourself in the store or on your driveway before the return window closes.
First, the steel. Grab a shelf edge and twist. If it flexes more than a quarter inch across a 36-inch span, it is a tote bag shelf, not a toolbox shelf. Second, the feet. Adjustable feet mean you can compensate for a garage slab that slopes toward the door, which almost every slab does. Third, the connection points. Where the shelf meets the upright is where failures start, so look at how many contact points there are and whether the hardware is steel or pot metal. Fourth, the material itself. Plastic shelving has its place, and that place is light stuff, high up. The moment you put a tool box on it, you have made a bet.
What you need before you start
Do not buy anything until you have answered three questions about the wall.
What kind of wall is it? Bare studs with no drywall are the easiest and strongest thing you will ever mount to. Drywall over studs is normal and fine, as long as you find the studs. Drywall over nothing but furring strips is the one that bites people, and it shows up in older garages and in a lot of converted carports.
Where are the studs? A stud finder is the tool that finds wood behind drywall, and skipping this step is how shelves end up on the floor. Studs are typically 16 inches on center, sometimes 24. Mark both edges of every stud in pencil and run a light line down the wall so you can see the pattern at a glance.
What is inside the wall? Before you drill anything, look at both sides. On an exterior garage wall, there is often a water spigot line or an electrical run to an outdoor outlet. On a shared wall, there may be plumbing from the house. If you are not sure, drill a small pilot hole and check what comes out on the bit.
You will also want a level, a tape measure, a drill, and a pencil. That is the whole list.
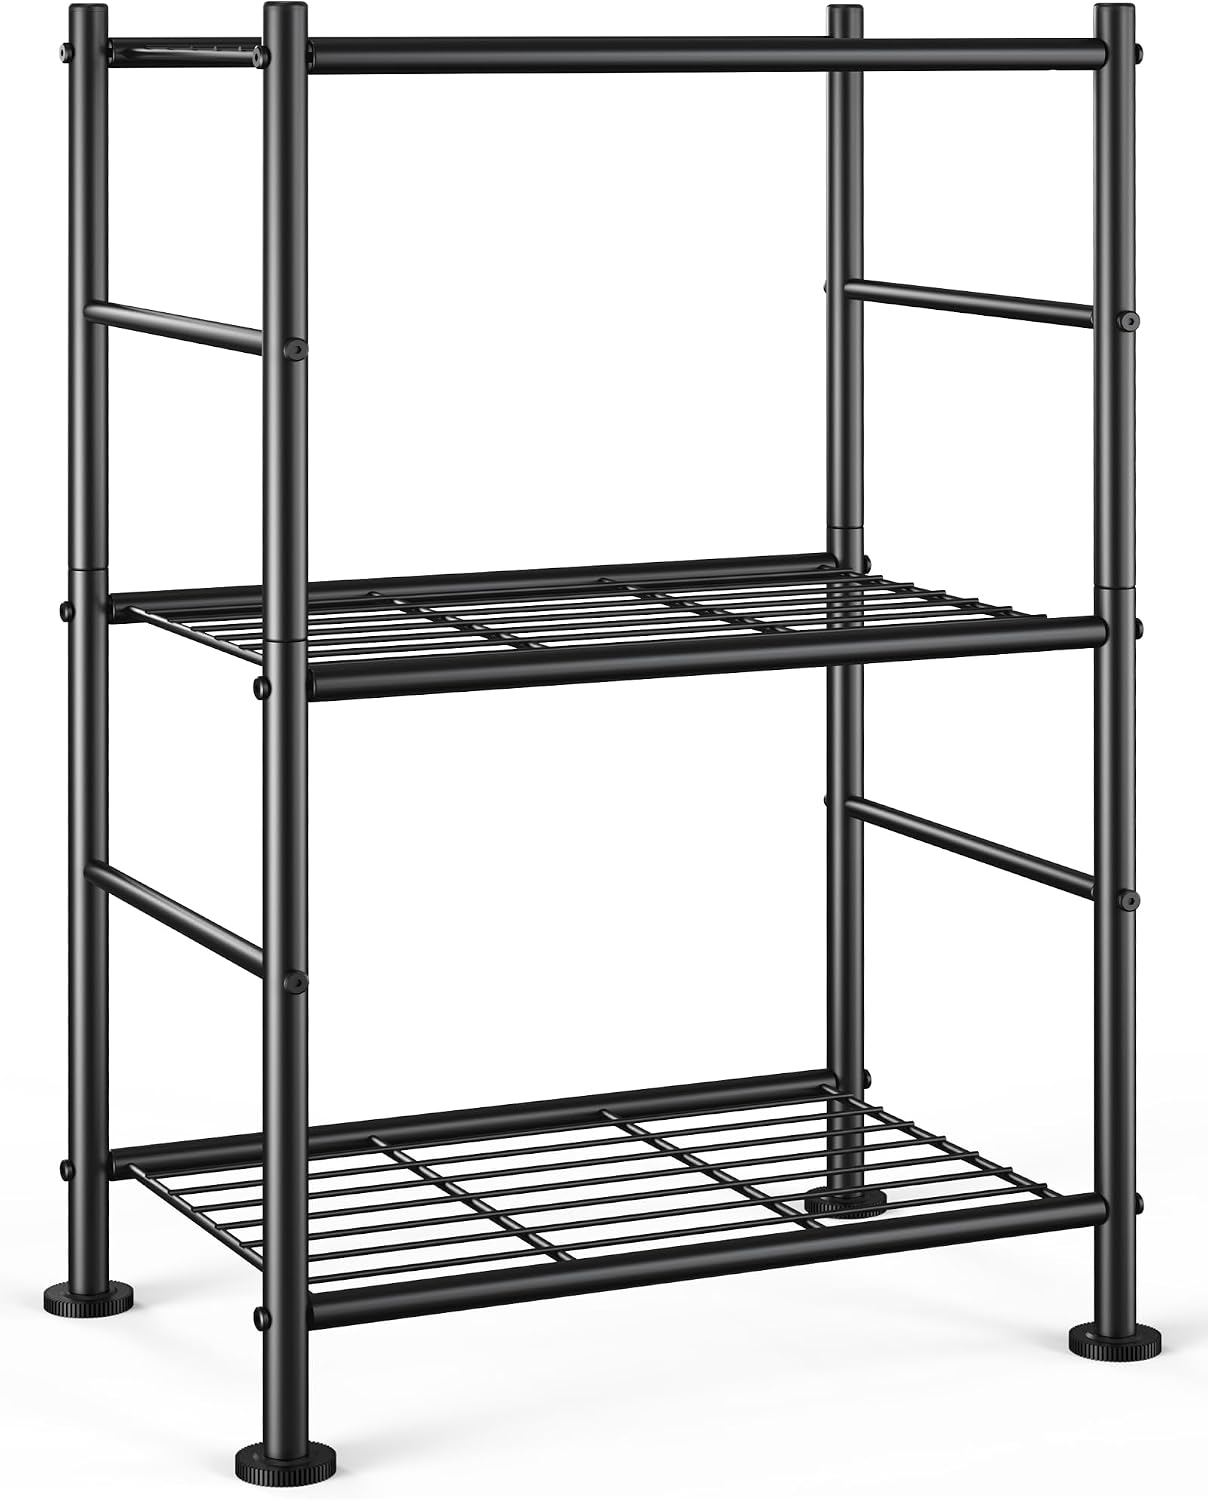
Compact pick: Sakugi 3-Tier Metal Storage Shelves Adjustable Feet, 18"x12"x30", Black
 Visit on Amazon →
This is the unit I would put beside a workbench or in the corner where the mower parks. It is 18 inches wide, 12 inches deep, and 30 inches tall, which means it fits under a window, beside a door swing, and in the gap between the garage door track and the side wall. That footprint is why I like it. Most people overshop for shelving and then discover the deep unit blocks the car door.
The adjustable feet are the feature that earns its place here. Garages slope. If you have ever set a shelf against a wall and watched it rock, you already know why four independent feet matter. Level it before you fasten it, not after.
Three tiers at 12 inches deep is a paint can, a parts organizer, and a set of jugs. It is not a place for a stacked tool chest. Treat the top tier as the light tier and you will get years out of it.
Flaws but not dealbreakers: A narrow three-tier rack has a tall, skinny profile, which is exactly the shape that tips. If you are not going to fasten it to the wall, do not put anything on the upper shelves.
Anyone with a one-car garage or a tight work zone who needs vertical storage without giving up floor space should start here.
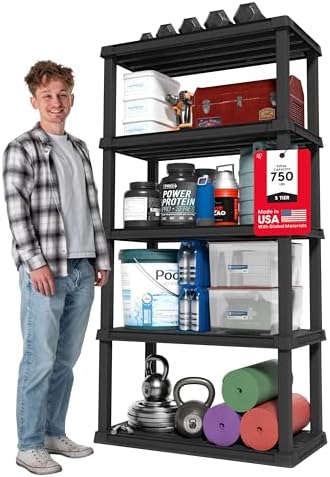
Tall-unit pick: IRIS USA Plastic Storage Shelves |Made in USA| 73"H x 36"W x 18"D - Black
 Visit on Amazon →
Seventy-three inches tall, 36 wide, 18 deep. That is a lot of square footage of storage for a footprint the size of a refrigerator, and it is the unit I recommend when someone's problem is bulk: coolers, holiday bins, camping gear, empty planters, the stuff that currently lives in a pile on the floor because there is nowhere else for it.
It is plastic, and I want you to hear me say that plainly. Plastic shelving has its place. That place is light stuff, high up. The top two tiers of this unit are for things that weigh less than a bag of dog food. The bottom tier is where the heavier bins go, because the closer the weight is to the floor, the less leverage it has on the frame.
This one is made in the USA, which matters to a lot of my clients, and the 36-inch width gives you a shelf that can hold two standard 27-gallon totes side by side with room to spare. That is the measurement that actually determines whether a garage gets organized or just gets rearranged.
Flaws but not dealbreakers: Plastic gets brittle in a cold garage. Do not drag this unit across a concrete slab in January, and do not over tighten fasteners into it. Snug is tight enough.
Anyone storing seasonal bulk and totes who wants maximum capacity per square foot of floor will get the most out of this one.
The actual install workflow
Now the part you came for. This works on any shelf, steel or plastic, wall-mounted or freestanding.
Step one: Pick the wall before you pick the spot. The best shelving wall in a garage is almost never the one you were staring at. You want a wall without the garage door track on it, without the water heater in front of it, and without the man door swinging into it. Walk the perimeter with a tape measure and find the longest clear run. That run is your shelving wall.
Step two: Find and mark the studs. Run the stud finder across the wall at chest height, mark both edges of every stud, and then confirm with a small nail or a thin drill bit. Stud finders lie on walls with thick texture or foil-backed insulation. Two seconds of confirmation beats a shelf on the floor.
Step three: Check the load path. Ask yourself where the weight is going. If the shelf is anchored to studs in a wall that sits on a slab, the load goes down through the studs to the slab, and you are in good shape. If you are anchoring to a wall that is really just paneling over furring strips, the load has nowhere to go, and you need a different plan.
Step four: Assemble on the floor. Build the unit flat on the slab, not standing up against the wall. It is faster, it is safer, and you can check square before you commit. If the assembled unit rocks on the slab, that is your slab talking, not the shelf. The adjustable feet on a steel unit exist for exactly this.
Step five: Level the feet before you anchor. Set the unit in place, adjust the feet until the shelves are level, then check it with a level on the top shelf front to back and side to side. A shelf that is level but rocking is not installed. A shelf that is solid but out of level will shed items off the front edge every time you bump it.
Step six: Anchor into wood. Drive your fasteners into the studs you marked. If the manufacturer's bracket holes do not line up with your studs, run a horizontal ledger board across three studs with construction screws and fasten the shelf to the ledger. This is the move that solves 90 percent of bad mounting situations, and it costs about eight dollars in lumber.
Step seven: Cut the load if you are stuck on drywall. If you truly cannot reach a stud and cannot add a ledger, use a proper hollow-wall anchor rated for the load, and then halve what you planned to put on the shelf. "Wall anchor included" usually means a drywall plug, and a drywall plug is not a structural fastener.
Step eight: Load it bottom heavy. Heavy items on the bottom tier, medium in the middle, light on top. This is not a suggestion, it is physics. The higher the weight, the more leverage it has to pull the whole unit away from the wall when you bump it.
Step nine: Re check the fasteners after a season. Garage temperature swings work fasteners loose. Every October and every April, put a hand on the top shelf and give it a firm shake. If it moves, tighten it. That is a two-minute job that prevents a two-hour cleanup.
Where these units go wrong
The number one complaint I hear about any garage shelf is sag, and sag almost always comes from one of three things.
Overloading the top tier is first. A shelf rated for a load is rated with that load spread evenly and mounted perfectly. Put 80 pounds on one end of a 36-inch shelf and you have created a lever, not a storage solution.
Skipping the wall anchor is second. A freestanding tall unit with no wall connection is a tipping hazard, especially in a garage with kids and bikes moving through it.
Ignoring the powder coat is third. Cheap powder coat flakes after a winter of temperature swings, and once it flakes, moisture gets to bare steel and you get rust streaks on whatever is underneath. It is a cosmetic failure that becomes a structural one, slowly.
What this all costs
The compact metal rack and the tall plastic unit are both entry level money, and neither one needs a contractor. What you are really buying is the prep: a stud finder, a level, a box of structural screws, and possibly one eight-foot ledger board.
Compare that to the cost of replacing what is on the shelf when it comes down, plus the drywall repair, plus the weekend you lose cleaning it up. The prep is the cheap part.
Check the current price on both units before you commit, then spend the savings on a stud finder. That tool will outlast every shelf in this guide and it will save you on the next three projects too.
That is the job. Find the studs, respect the load path, load it bottom heavy, and check it twice a year. Do that and your garage shelving will still be standing when the car finally fits again.